Adding a Windows Endpoint
Zenarmor provides device-level protection by installing the Zenarmor application directly on endpoints, including desktops, laptops, and mobile devices.
Once installed, endpoints are automatically connected to your organization and centrally managed through the Zenconsole. This allows you to monitor and control web and application traffic regardless of the user’s location.
Zenarmor provides multiple installation options for Windows endpoints. Choose the method that best fits your environment, privileges, and software distribution strategy, and follow the steps to download and install the agent.
The available methods are listed below.
To be able to protect Microsoft Windows endpoints using Zenarmor, you need to register your endpoints with Zenconsole.
Before starting endpoint registration, ensure that an organization is set up with an identity and access management configuration already completed on Zenconsole.
Organization features and endpoint support are only available on SSE and higher subscriptions.
Method 1: Standalone Installer (GUI)
You may download the Windows installer(.msi) that is pre-associated with your Organization from Zenconsole and run a guided setup. Ideal for one-off or remote installs.
To install Zenarmor on your Microsoft Windows computer, follow the next steps:
-
Log in to your Zenconsole account.
-
In the left-hand navigation menu, click Global Deployments.
-
Navigate to Gateways & Endpoints in Zenconsole.
-
Click + Add Endpoint and switch to the Windows tab.

Figure 1. Add an Endpoint to Your Deployment - Standalone Installer
-
Under Method 1: Standalone Installer, click Zenarmor x86_64 installer to download the Windows installer (.msi) file that’s already linked to your Organization.
tipFor remote devices, copy the download URL from this window and send it to the user/technician. Or remote users may download the generic Zenarmor Windows installation file, such as
zenarmor-x64.msi, from the download page and then register with the organization. -
Run the installation file by double-clicking on it. This will launch the Zenarmor setup wizard.
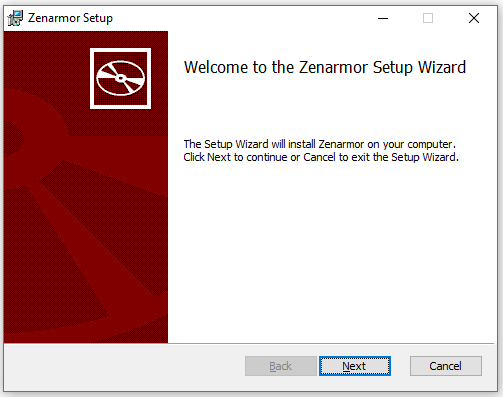
Figure 2. Welcome to the Zenarmor Setup Wizard
-
Click Next to proceed with the setup wizard.
-
Click Next to install the application into the default folder,
C:\Program Files\Zenarmor\. You may select a new installation folder by clicking on the Change...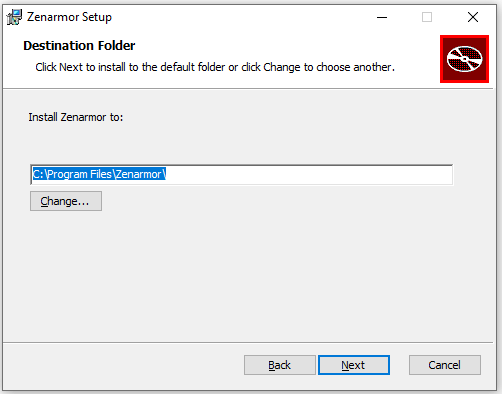
Figure 3. Selecting Destination Folder
-
Click Install to start the installation.
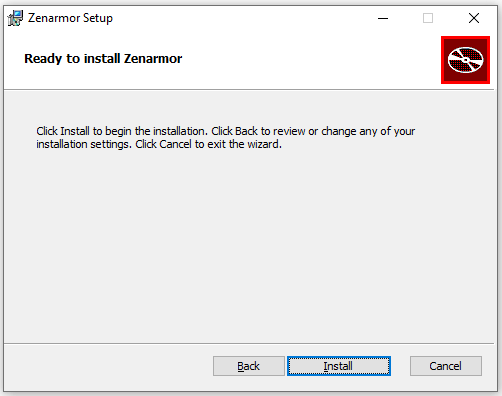
Figure 4. Starting Installation
-
Wait while the setup wizard installs Zenarmor.
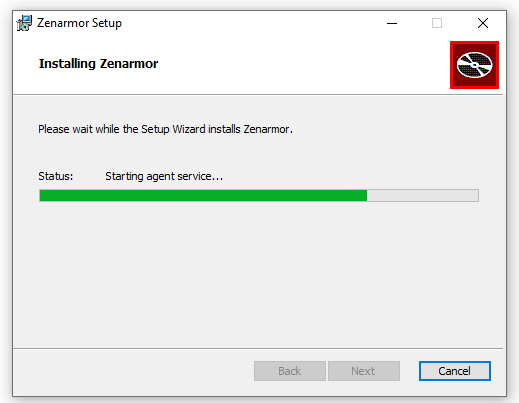
Figure 5. Installing Zenarmor on Windows
-
Click Finish to exit the setup wizard and launch Zenarmor.
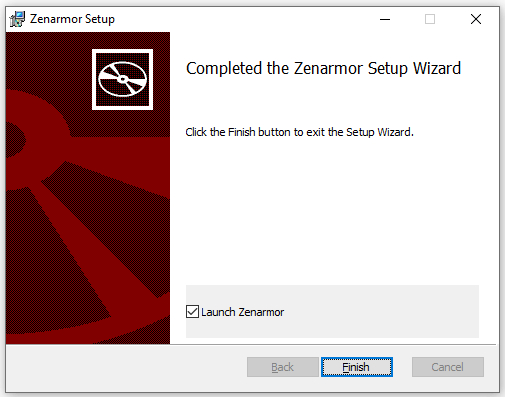
Figure 6. Installation Finished
Now, you must authenticate & register your Windows endpoint to your organization on the Zenconsole.
Method 2: Microsoft Store
Install Zenarmor on your Windows endpoint directly from the Microsoft Store for a familiar, centrally managed update channel. The Store handles delivery and updates, making it a good fit for modern device management.
You can easily install Zenarmor on your Microsoft Windows computer by following the next steps:
-
Log in to your Zenconsole account.
-
In the left-hand navigation menu, click Global Deployments.
-
Navigate to Gateways & Endpoints in Zenconsole.
-
Click + Add Endpoint and switch to the Windows tab.
-
Access the Zenarmor app page in one of these ways:
a. Click the Microsoft Store link shown under Method 2 on this window,
b. Or open the Microsoft Store app on the device and search for “Zenarmor.”

Figure 7. Add an Endpoint to Your Deployment - Microsoft Store
-
On the Microsoft Store page, click Install.
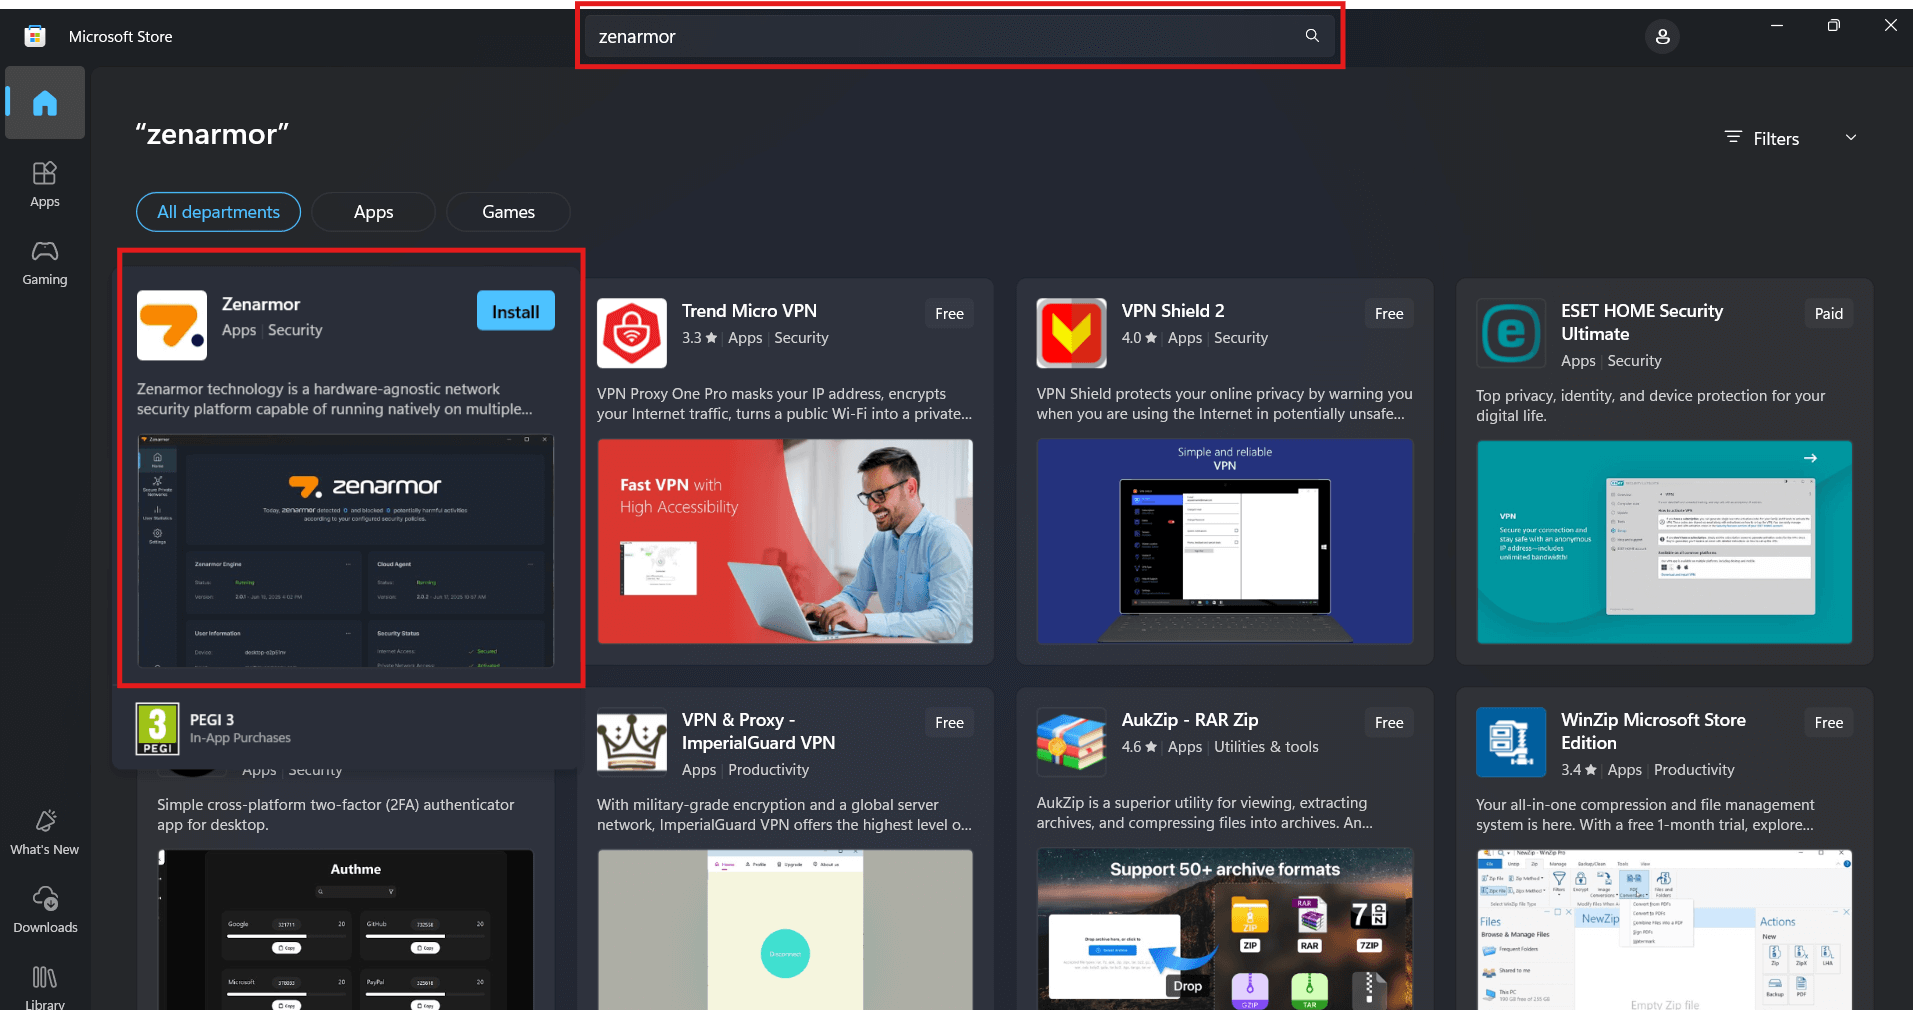
Figure 8. Microsoft Store - Zenarmor Search
-
If prompted, sign in to the Store and approve any permissions or UAC prompts (User Account Control popups).
-
When the installation completes, search for “Zenarmor” in the Start menu and launch the app manually.
Now, you must authenticate & register your Windows endpoint to your organization on the Zenconsole.
Method 3: Chocolatey
Chocolatey is a package manager for Windows that lets you install software using simple commands. If your organization already uses Chocolatey to manage software on Windows devices, you can use it to automate Zenarmor deployment.
Follow these steps to install Zenarmor with Chocolatey:
-
Open an elevated PowerShell window. Click Start, type PowerShell, then right-click Windows PowerShell and select Run as Administrator.
-
(If needed) Install Chocolatey. If you don’t already have Chocolatey installed, run the command below once. After it finishes, close and reopen PowerShell as Administrator.
Set-ExecutionPolicy Bypass -Scope Process -Force;
[System.Net.ServicePointManager]::SecurityProtocol = [System.Net.SecurityProtocolType]::Tls12;
iex ((New-Object System.Net.WebClient).DownloadString('https://community.chocolatey.org/install.ps1')) -
Log in to your Zenconsole account.
-
In the left-hand navigation menu, click Global Deployments.
-
Navigate to Gateways & Endpoints in Zenconsole.
-
Click + Add Endpoint and switch to the Windows tab.
-
Locate Method 3: Chocolatey, as shown below, and copy the command provided there.

Figure 9. Add an Endpoint to Your Deployment - Chocolatey
-
Run the copied command in the elevated PowerShell window.
-
Alternatively, you can use the command provided below, just replace
organization-namewith your actual Organization ID from Zenconsole.choco install zenarmor -y --params="'/Organization:organization-name" -
When the installation completes, open the Start menu, search for “Zenarmor”, and launch the app.
Now, you must authenticate & register your Windows endpoint to your organization on the Zenconsole.
Method 4: WinGet
WinGet is the official Windows Package Manager. It lets you install software from the command line quickly and reliably. If you already use WinGet in your environment, this method is a fast and script-friendly way to deploy Zenarmor.
Follow these steps to install Zenarmor with WinGet:
-
Log in to your Zenconsole account.
-
In the left-hand navigation menu, click Global Deployments.
-
Navigate to Gateways & Endpoints in Zenconsole.
-
Click + Add Endpoint and switch to the Windows tab.
-
Under Method 4 (WinGet), copy the installation script shown there. Also, you can use the command provided below,
winget install Zenarmor.Zenarmor
Figure 10. Add an Endpoint to Your Deployment - WinGet
-
Open an elevated PowerShell window. Click Start, type PowerShell, then right-click Windows PowerShell and select Run as Administrator.
-
Paste the script into the PowerShell window and press Enter to run it.
-
After the script finishes, open the Start menu, search for “Zenarmor”, and launch the app.
Now, you must authenticate & register your Windows endpoint to your organization on the Zenconsole.
Method 5: PowerShell Script
The PowerShell Script method allows you to download and install the Zenarmor endpoint application using a single command. This method is useful for automated deployments, remote installations, or environments where administrators prefer script-based installation.
Follow these steps to install Zenarmor with PowerShell Script:
-
Log in to your Zenconsole account.
-
In the left-hand navigation menu, click Global Deployments.
-
Navigate to Gateways & Endpoints in Zenconsole.
-
Click + Add Endpoint and switch to the Windows tab.
-
Under Method 5: PowerShell Script, copy the installation script shown there.

Figure 11. Add an Endpoint to Your Deployment - PowerShell Script
-
Open an elevated PowerShell window. Click Start, type PowerShell, then right-click Windows PowerShell and select Run as Administrator.
-
Paste the copied script into the PowerShell window and press Enter to run it.
-
Wait until the installation finishes. Zenarmor will be installed automatically.
-
After the installation completes, open the Start menu, search for “Zenarmor”, and launch the app.
Now, you must authenticate & register your Windows endpoint to your organization on the Zenconsole.