Viewing Devices on Zenconsole
You may view the discovered devices on your network by following the next steps:
- Select your firewall on the Zenconsole UI.
- Click on the Devices button on the left sidebar.
The Devices page displays the grid layout of all detected devices by default. Furthermore, users are granted the capability to arrange their devices according to status and category through the utilization of the alternatives presented in the left-hand bar.
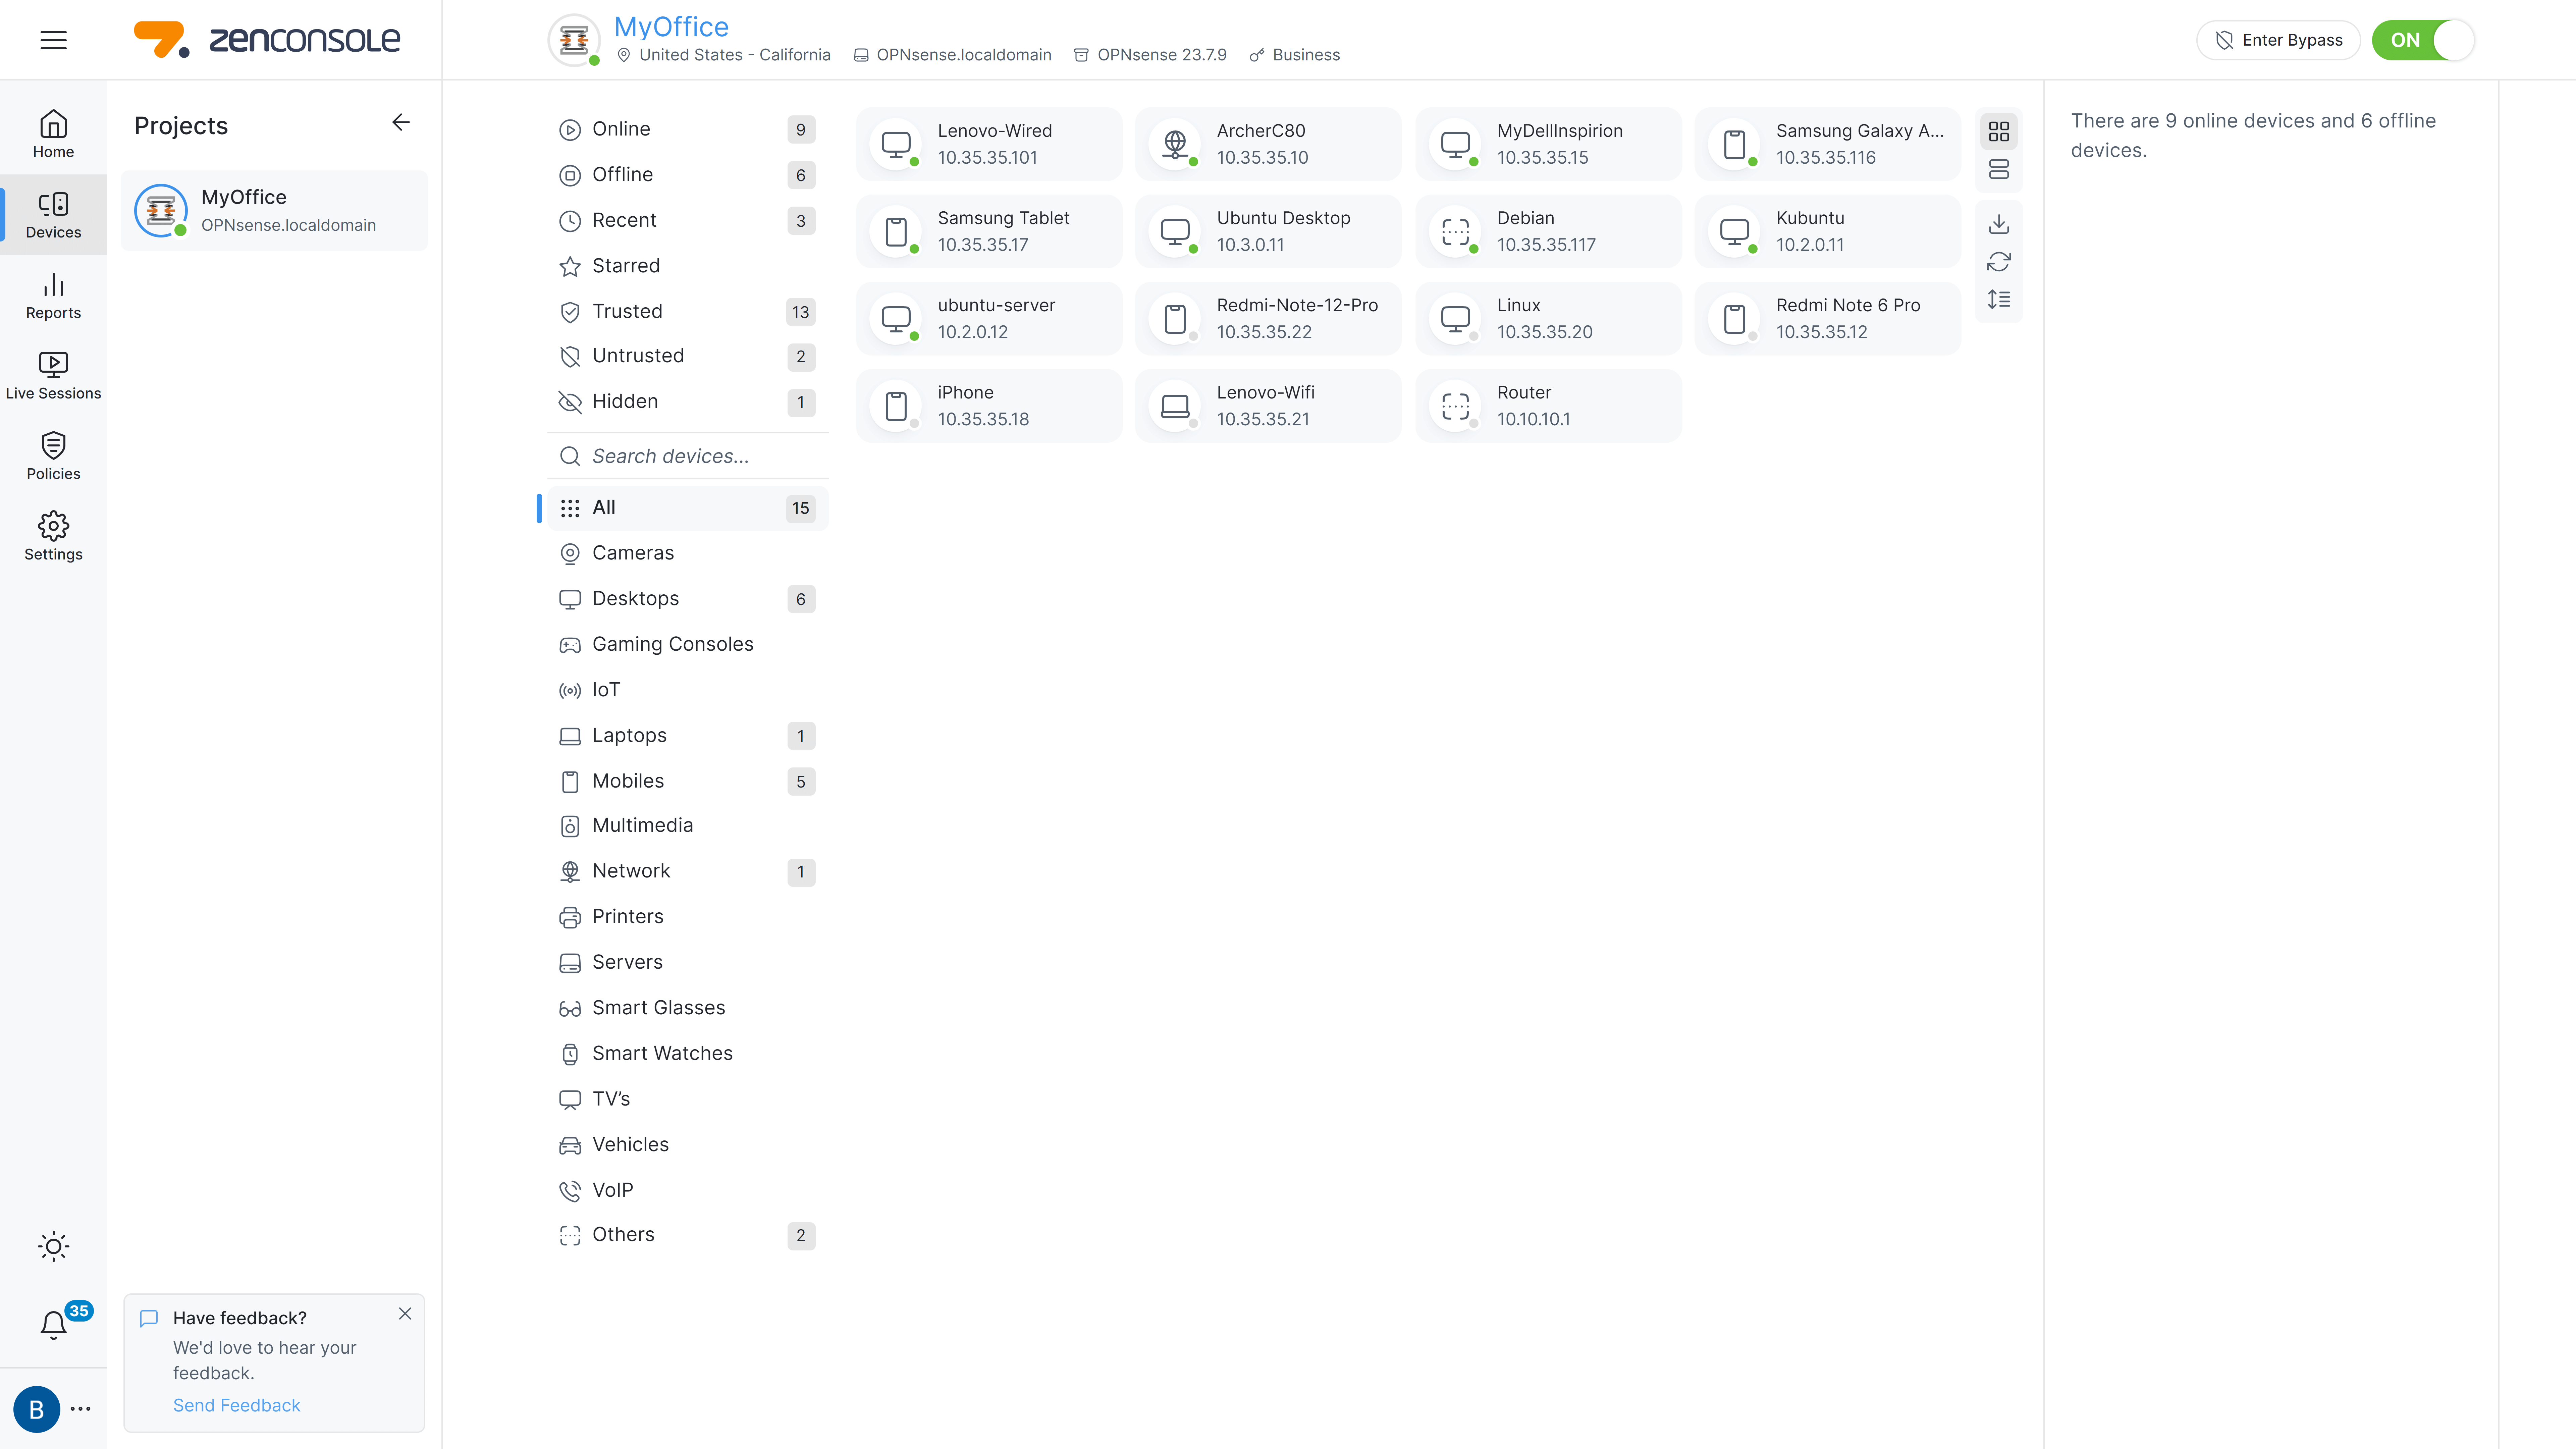
Figure 1. Viewing Detected Devices on Zenconsole
The device summary is a beneficial functionality that enhances network visibility. The device summary is accessible via the right-hand sidebar of the Devices page. A pane on the right provides a summary of the total number of devices on your network as well as the number of devices that you have selected based on their status or categories via the navigation bar on the left.
Zenarmor will detect remote Internet devices with which your internal clients are communicating if your WAN interface is protected. In such cases, remote hosts will be displayed on the Devices page.
It is imperative to note that utilizing Zenarmor in Passive mode may result in the Devices report containing remote IP addresses. To ensure optimal efficiency of Devices reporting and exclude remote internet devices from the report, it is highly recommended to use Zenarmor in Routed mode.
Status-Based Device Listing
You can quickly view detected devices on your network based on their status. They are listed based on the following criteria on the Devices page:
- Online: Devices that currently have active network connectivity are listed here. Online devices are displayed by default when you click on the Devices menu on Zenconsole UI.
- Offline: Devices that have been detected in the past but do not have active network connectivity at the moment are listed here. The device is set as offline when there is no packet received within half an hour.
- Recent: Devices that have been discovered within the past 24 hours are listed here.
- Starred: Your favorite devices that have been assigned a Starred tag are listed here.
- Trusted: Devices that have been verified and classified as trusted assets are listed here.
- Untrusted: Devices that have not been verified yet or classified as untrusted assets by administrators are listed here. All newly detected devices are categorized as Untrusted by default.
- New: Devices that have recently been discovered and are waiting to be verified are listed here.
- Hidden: Devices that have been assigned a Hidden tag are listed here. These devices can only be viewed in this category. Hidden devices do not appear in other lists.
The number of detected devices is displayed for each status-based device list next to the device status. For example, the figure below illustrates the presence of ten (10) trusted devices. Six (6) are currently online, four (4) are offline, and one (1) new device has been added to the network.

Figure 2. Status-Based Devices Lists on Zenconsole
Category-Based Device Listing
You can quickly view detected devices on your network based on their categories. Available device categories are listed below:
- Cameras
- Desktops
- Gaming Consoles
- IoT
- Laptops
- Mobiles
- Multimedia
- Network
- Printers
- Servers
- Smart Glasses
- Smart Watches
- TVs
- Vehicles
- VoIP
- Others
The number of devices is displayed for each device category list next to the category name.
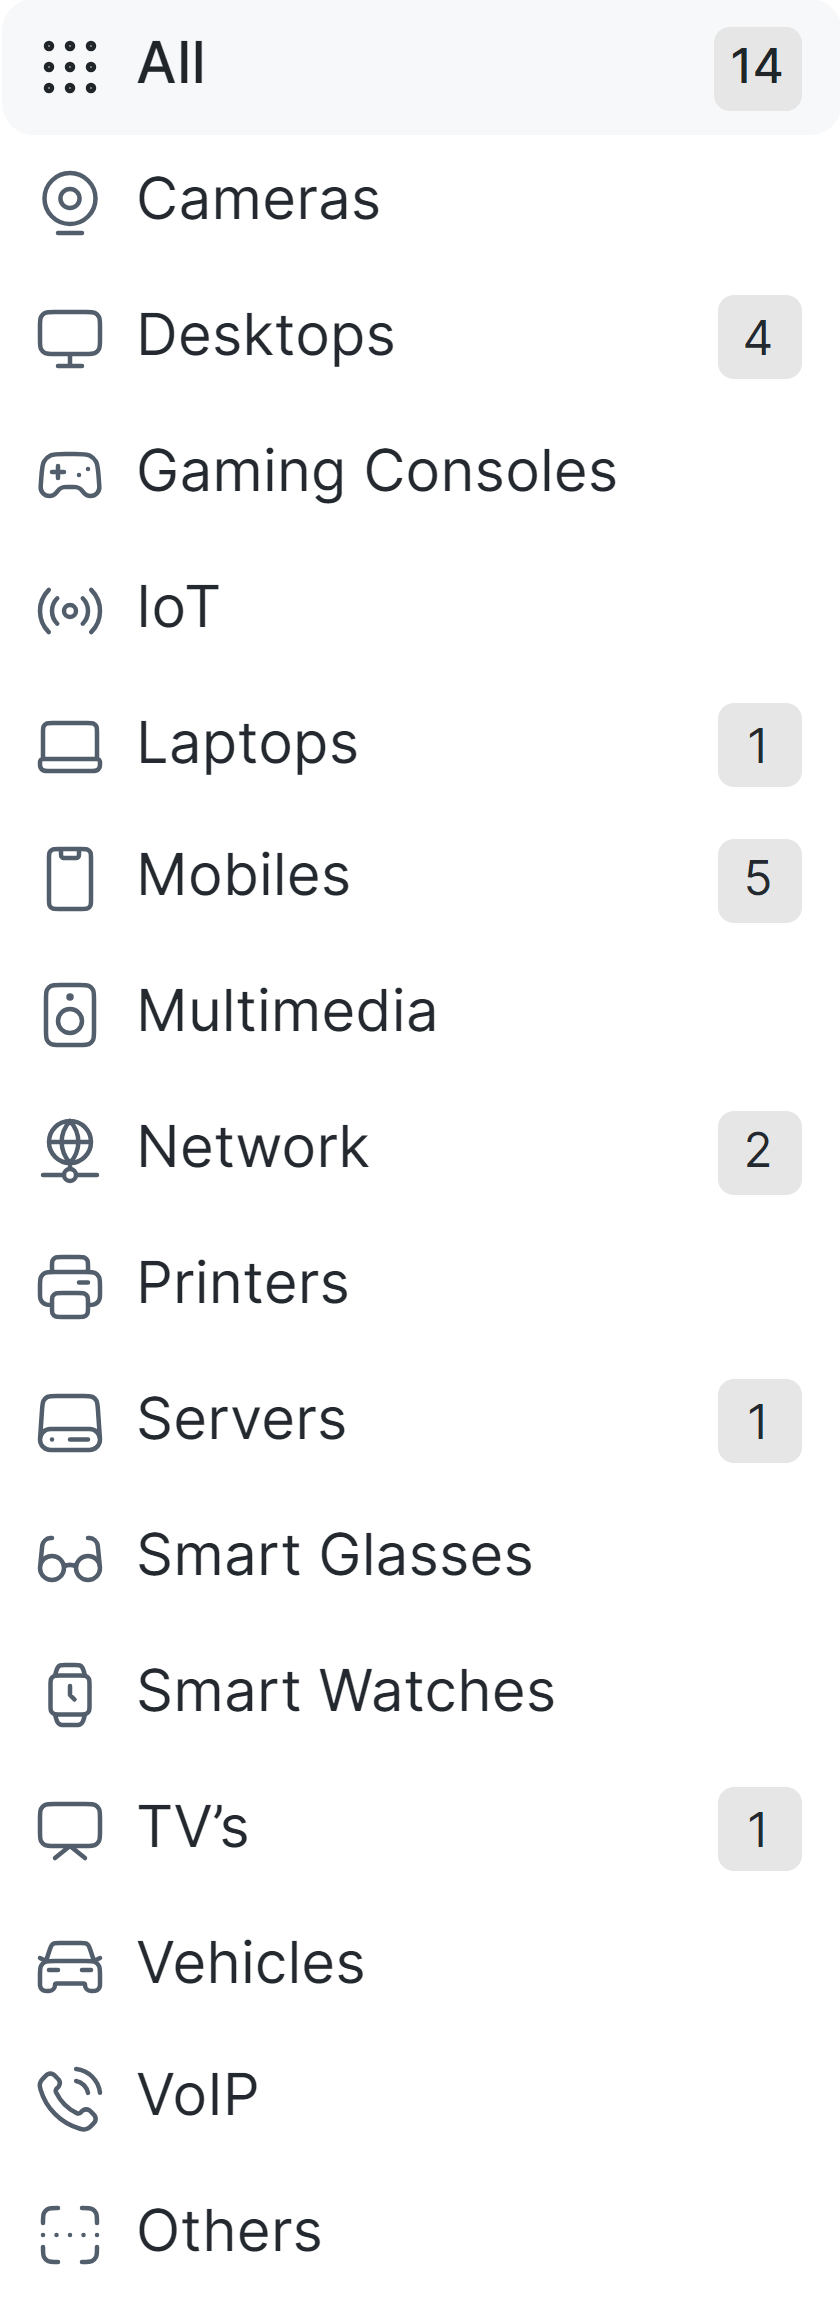
Figure 3. Device Category Lists on Zenconsole
Viewing All Devices
You can easily view all detected devices on your network by following the next steps:
- Select your firewall on the Zenconsole UI.
- Click on the Devices button on the left sidebar.
- Click on the All icon on the left-hand sidebar of the Devices page.
All devices will be displayed on a single page. When you have a large number of devices, you can navigate them by clicking on the Next button at the bottom of the page.
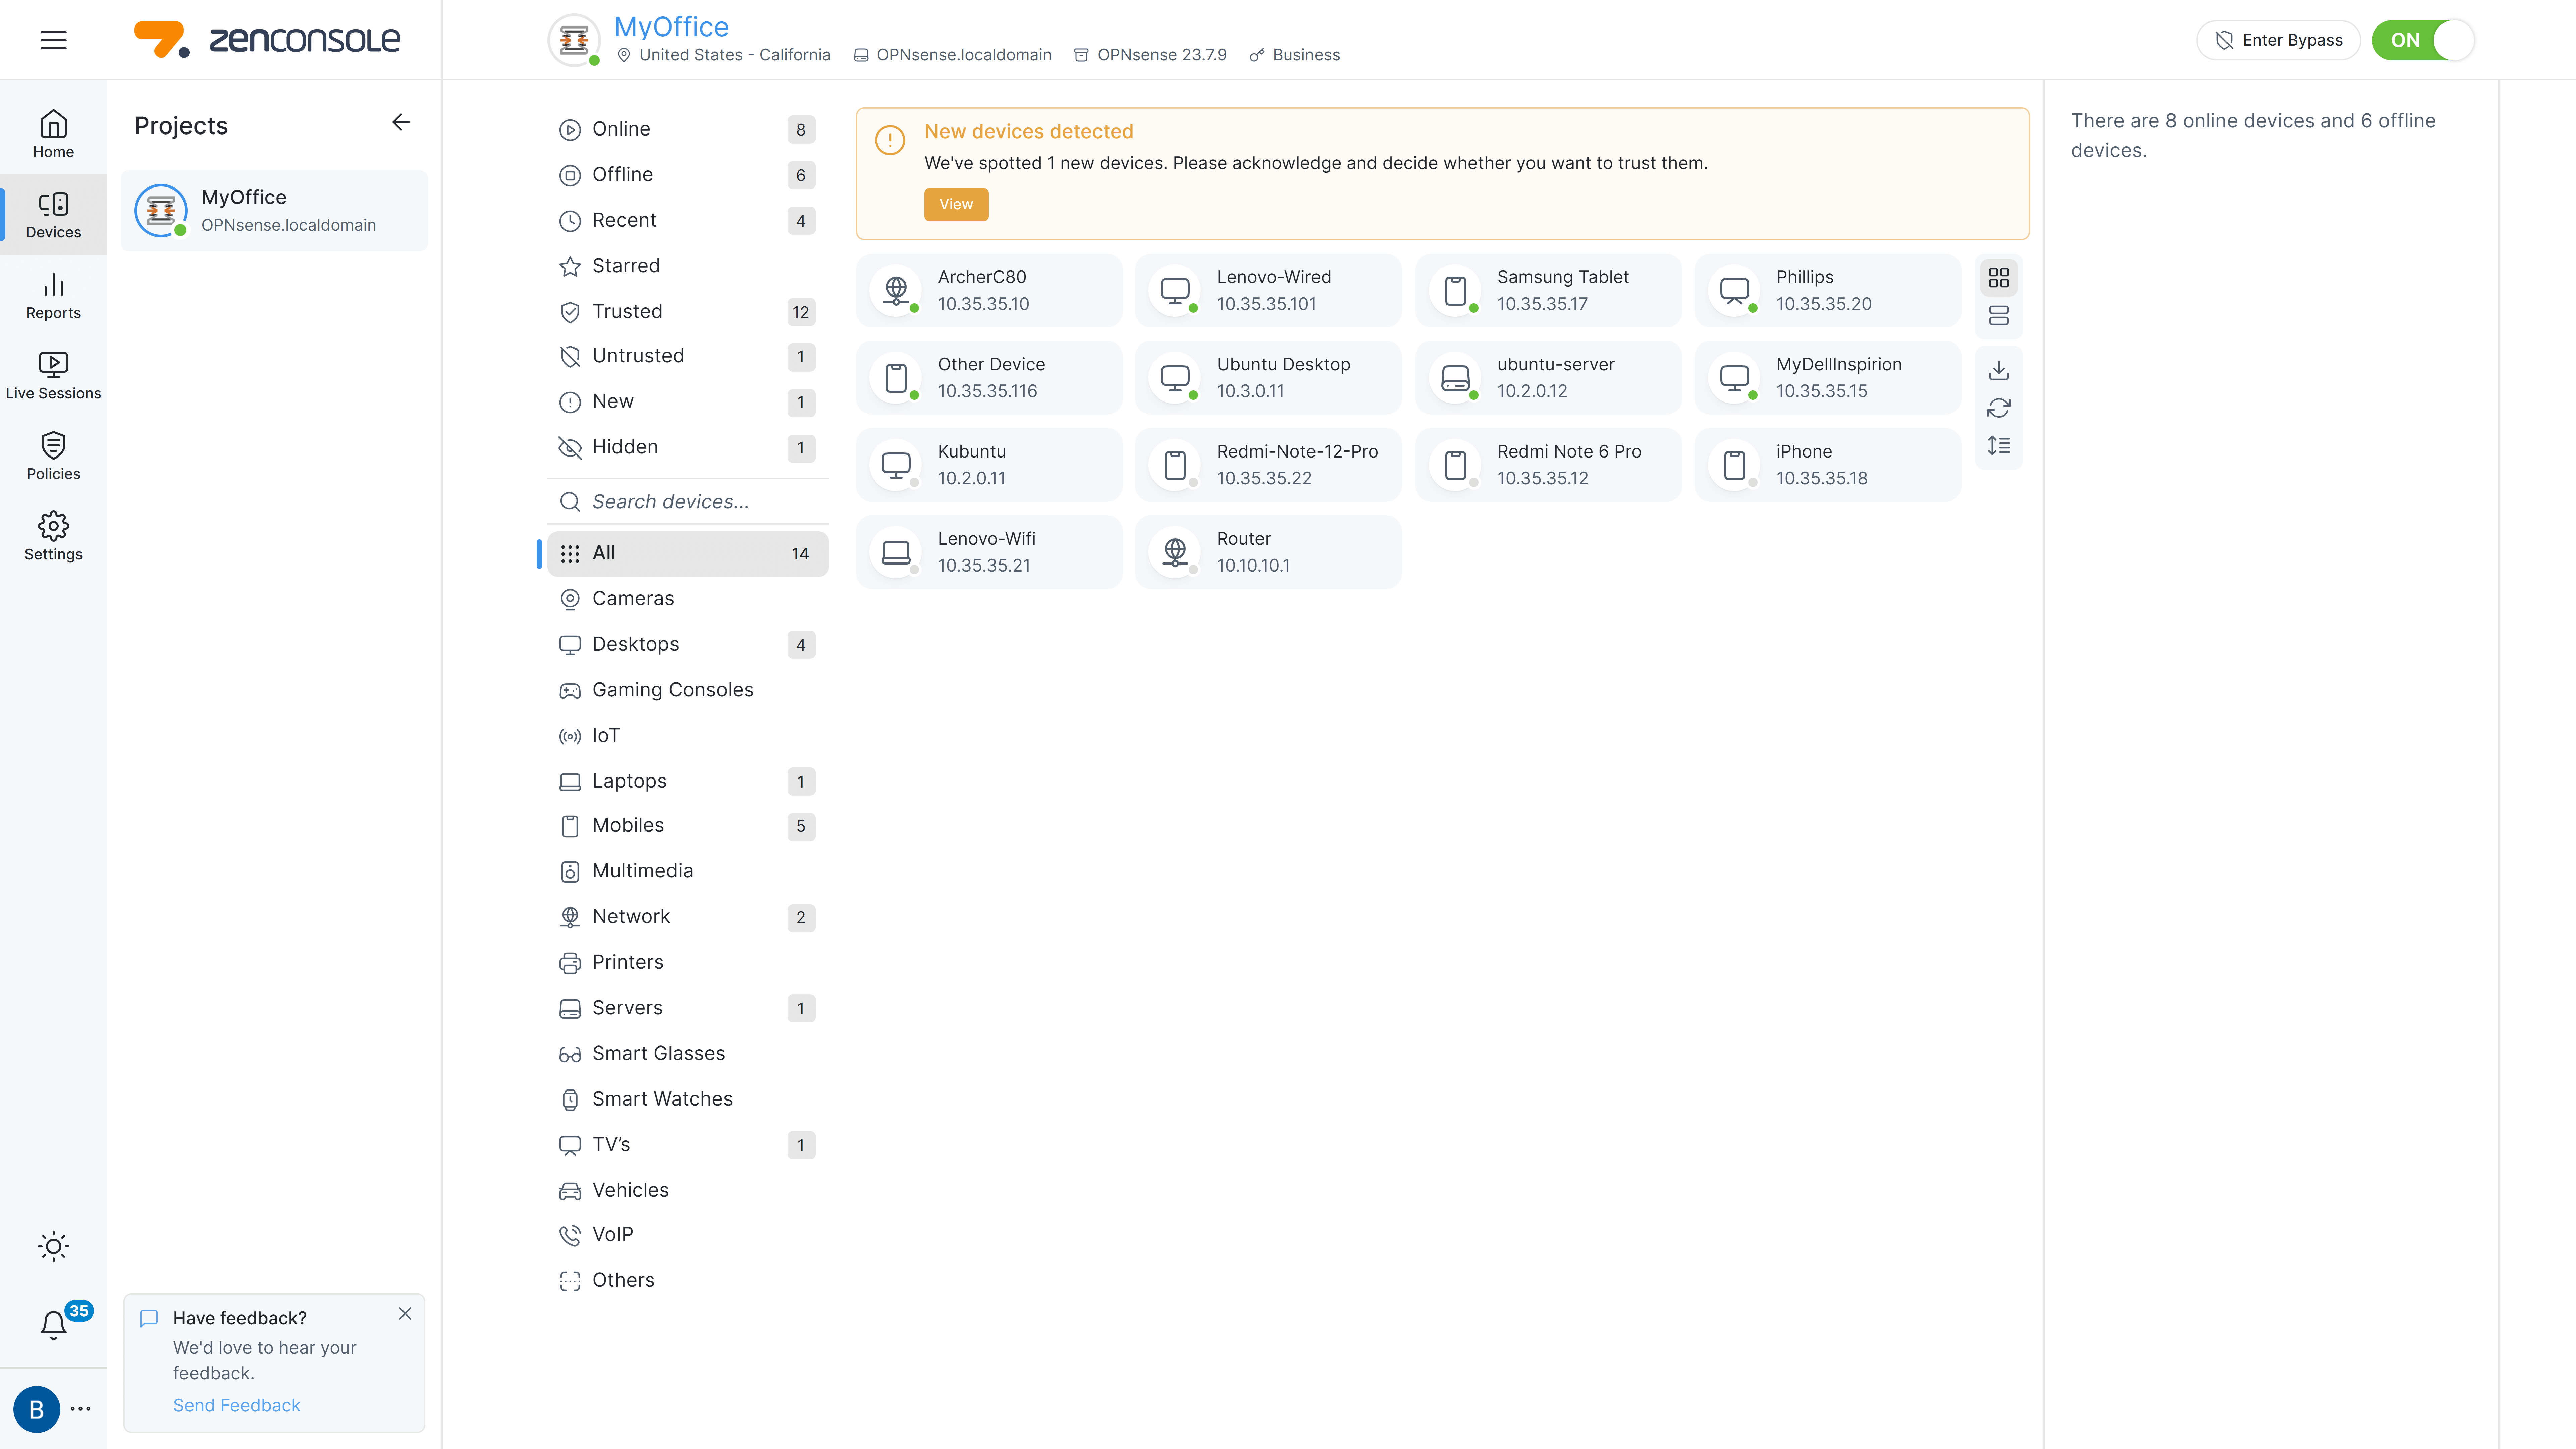
Figure 4. Viewing All Devices on Zenconsole
Searching for a Device
A search function can be applied to the device list in order to locate a particular device or group of devices. To search for a device, you may follow the steps below:
-
Navigate to Devices page of your firewall on Zenconsole UI.
-
Type criteria into the Search devices field in the middle of the left-hand sidebar. The device list will be automatically updated on the page while you are typing.
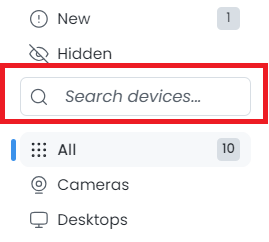
Figure 5. Searching Devices on Zenconsole
The search operation is performed on the following fields of device details:
-
Name
-
Device Category
-
IPv4 Address
-
Hardware Address
-
Hardware Vendor
-
Interface
-
Detail
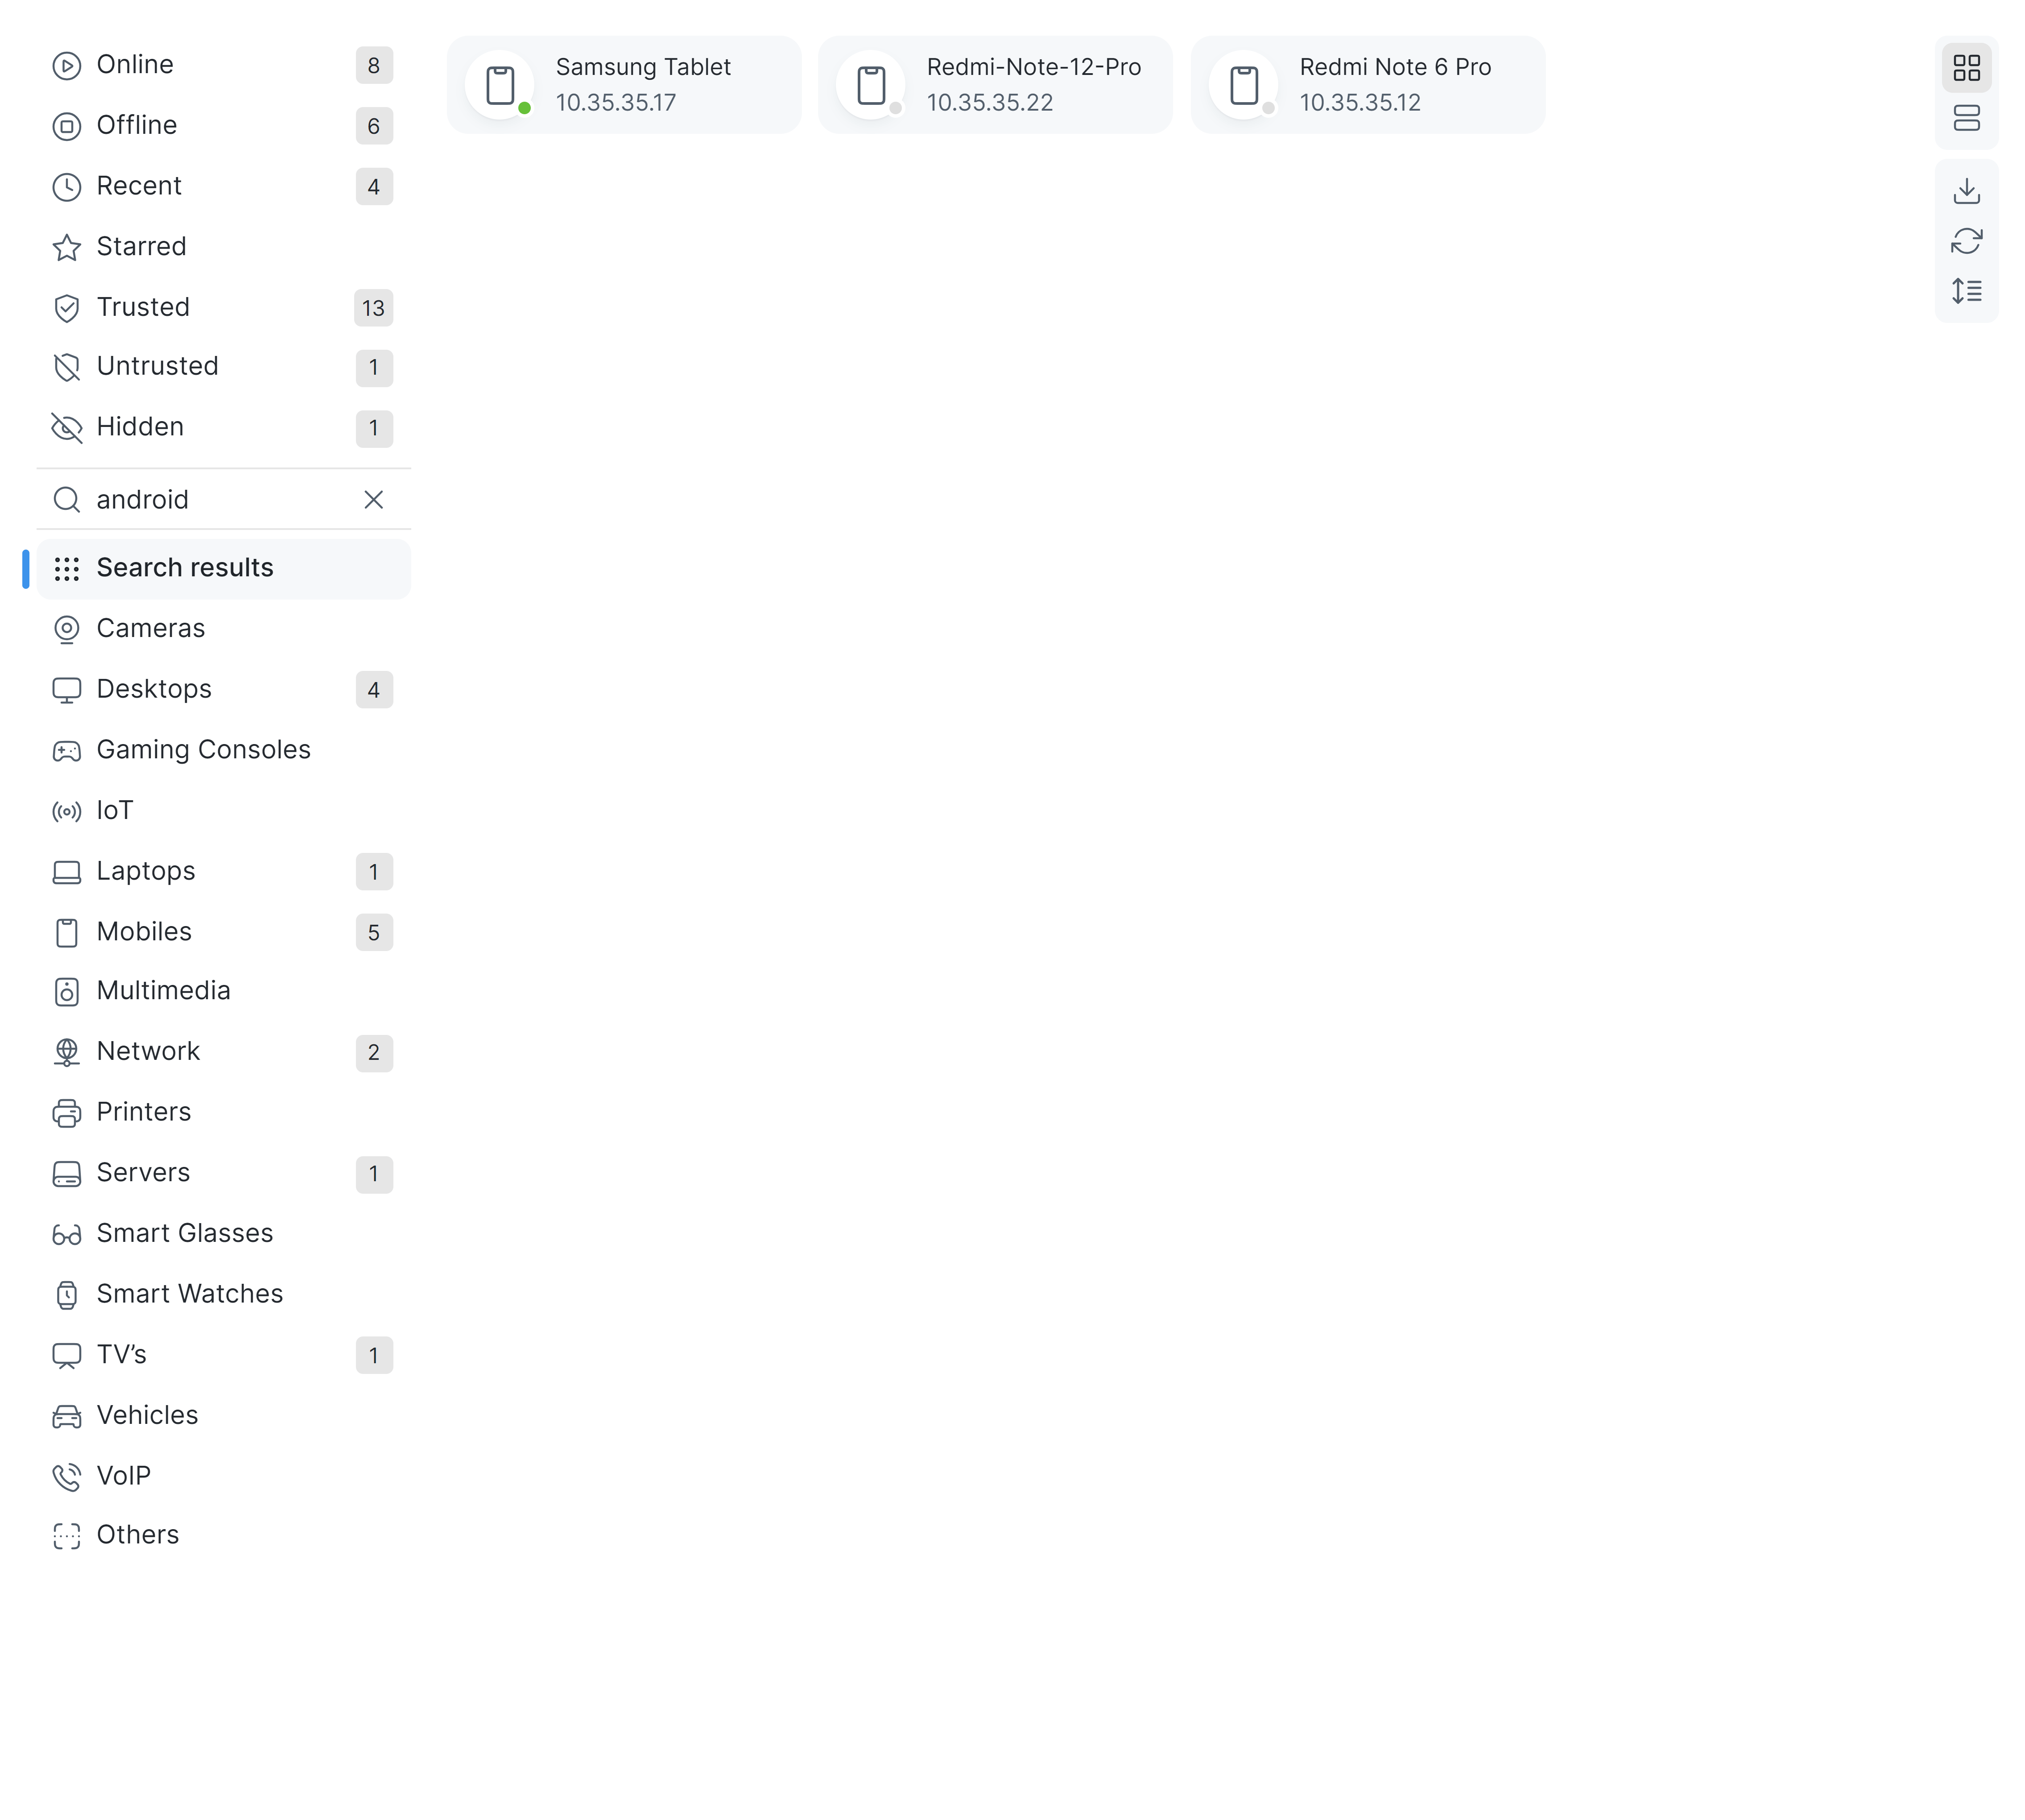
Figure 6. Viewing Search Results on Zenconsole
Selecting Layout
Devices can be listed in the following layouts on Zenconsole:
- Grid Layout
- Rows Layout
To view detected devices in a grid layout, you may follow the steps below:
-
Navigate to Devices page of your firewall on Zenconsole UI.
-
Click on the grid layout icon at the upper right corner of the device list.
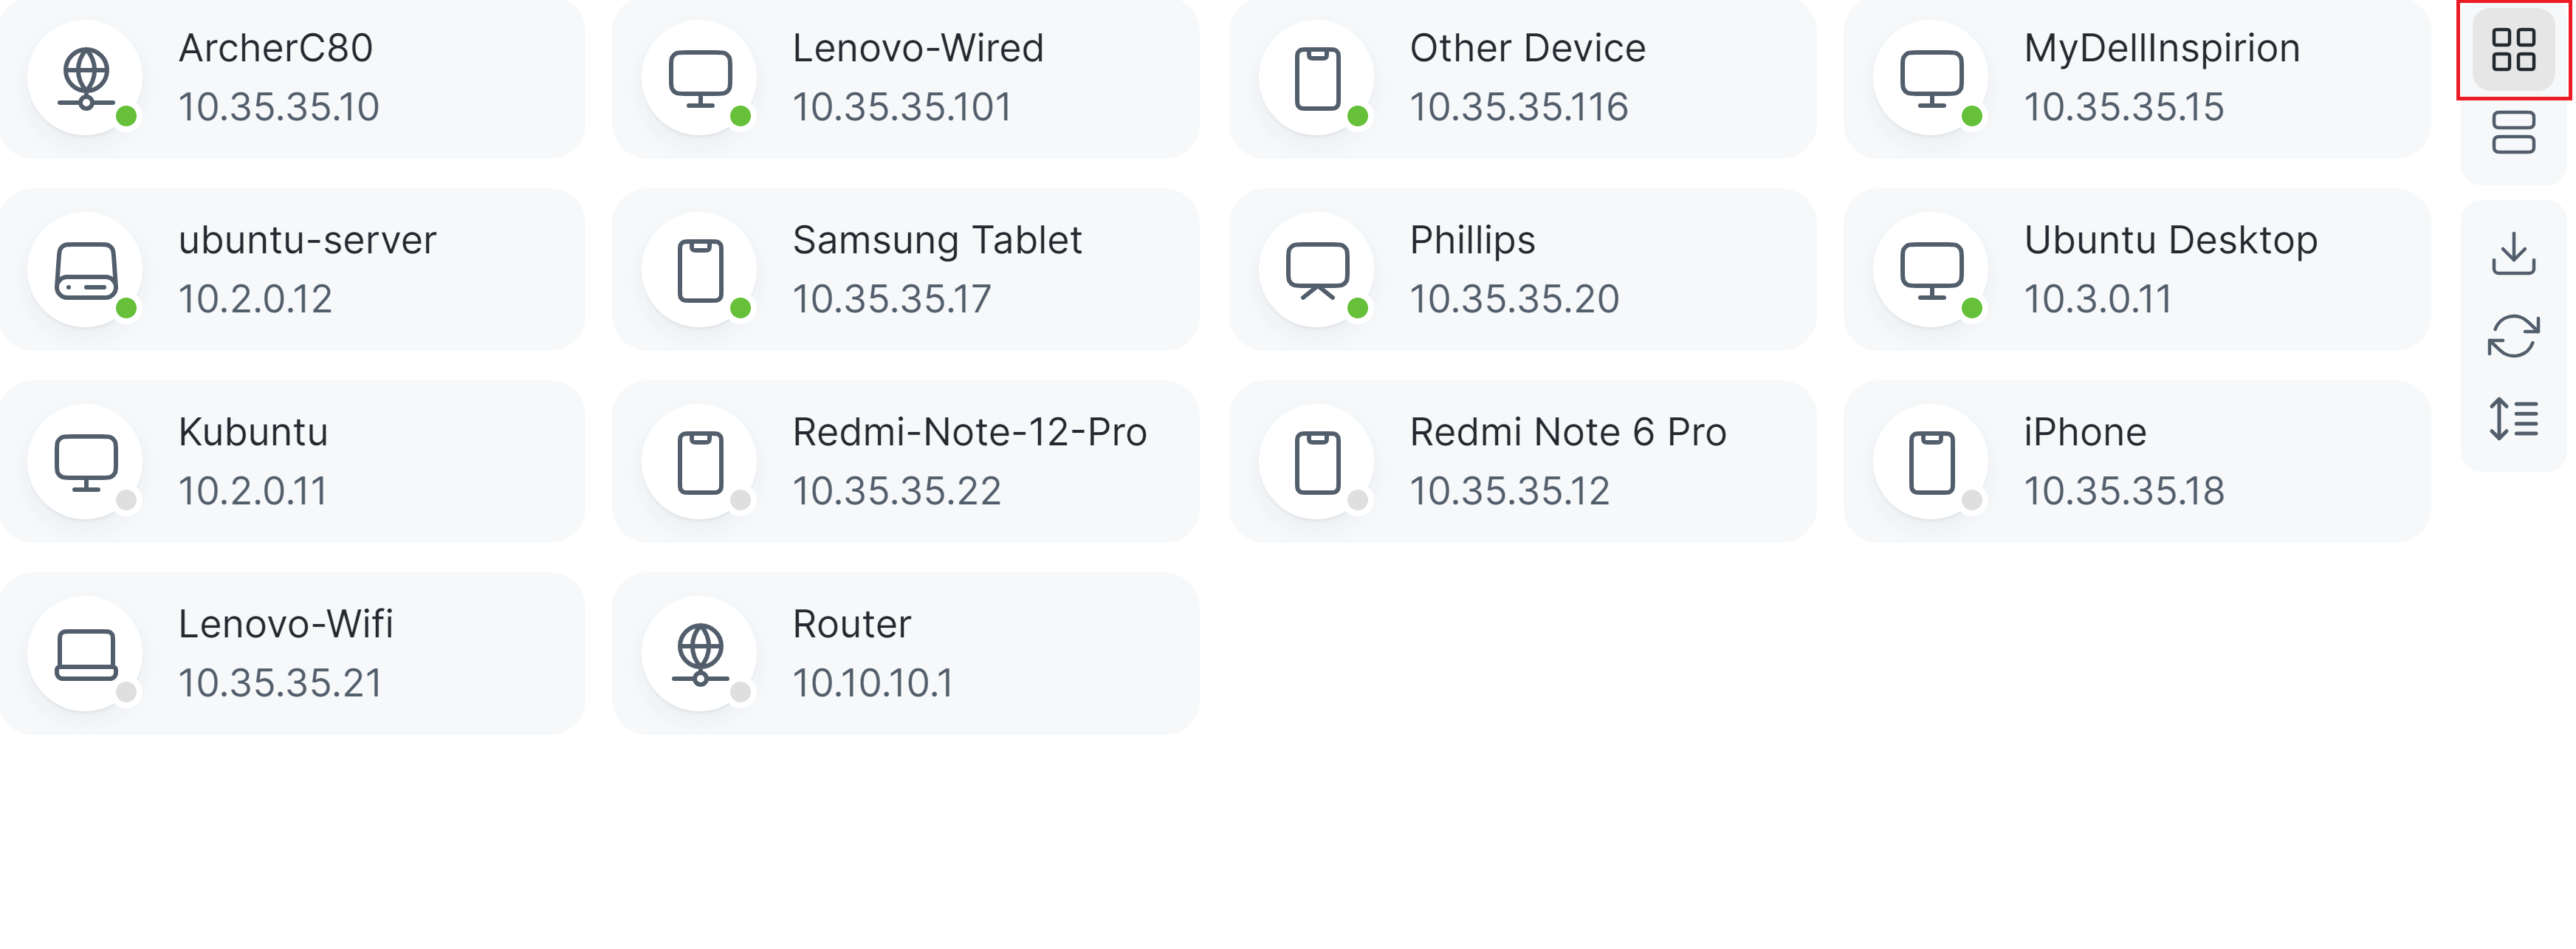
Figure 7. Viewing Devices in Grid Layout on Zenconsole
To view detected devices in a row layout, you may follow the steps below:
-
Navigate to Devices page of your firewall on Zenconsole UI.
-
Click on the row layout icon at the upper right corner of the device list.
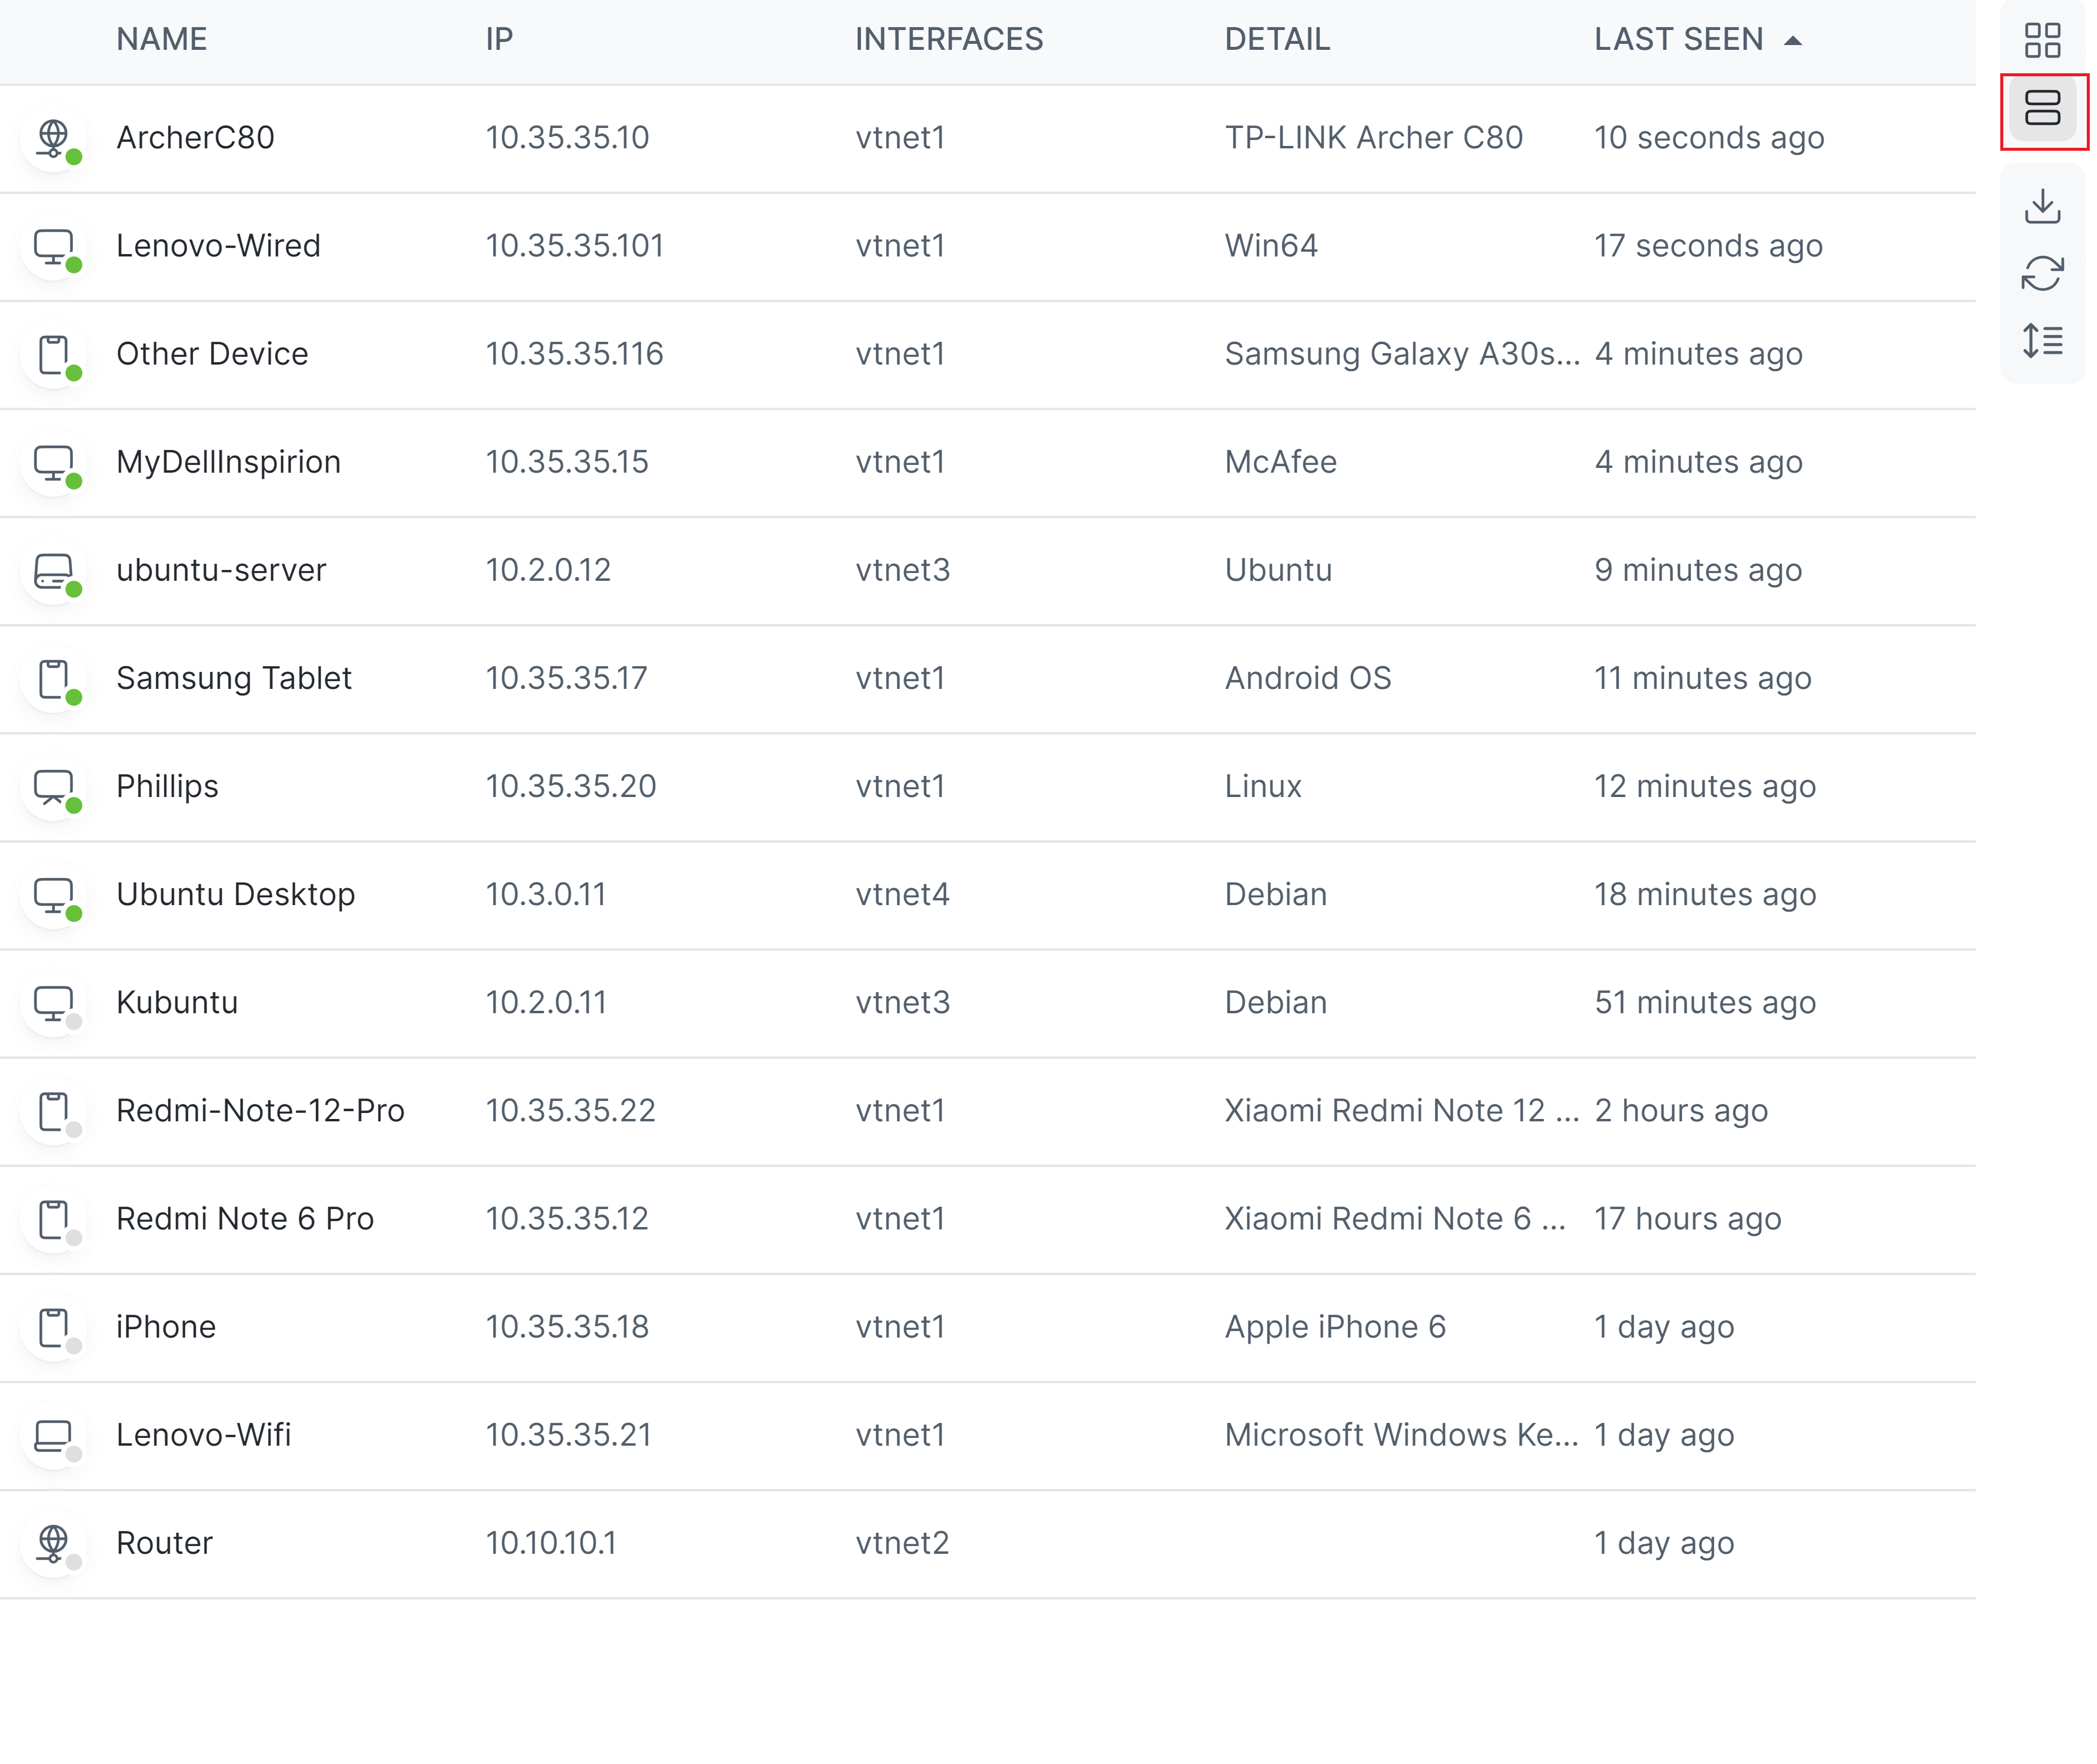
Figure 8. Viewing Devices in Row Layout on Zenarmor
Refreshing Device List
To refresh the detected device list, you may follow the steps below:
-
Navigate to Devices page of your firewall on Zenconsole UI.
-
Click on the Reload List icon on the right side of the device list.
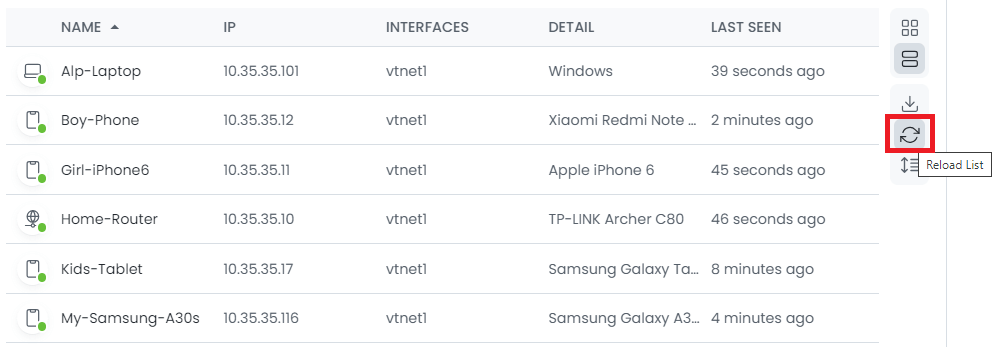
Figure 9. Refreshing Devices List on Zenconsole
Downloading Device List
To download the detected device list, you may follow the steps below:
-
Navigate to Devices page of your firewall on Zenconsole UI.
-
Select the device list based on the status or category that you want to download.
-
Click on the Download List icon on the right side of the device list.
-
Click Save button to download the device list in CSV format.
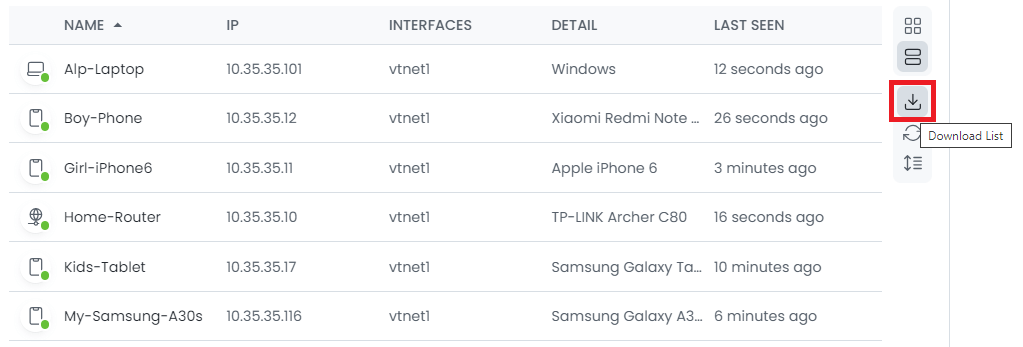
Figure 10. Downloading Device List on Zenconsole
Reordering Device List
To reorder the detected device list, you may follow the steps below:
-
Navigate to Devices page of your firewall on Zenconsole UI.
-
Select the device list based on the status or category that you want to view.
-
Click on the Sort icon on the right side of the device list. This will open a drop-down menu.
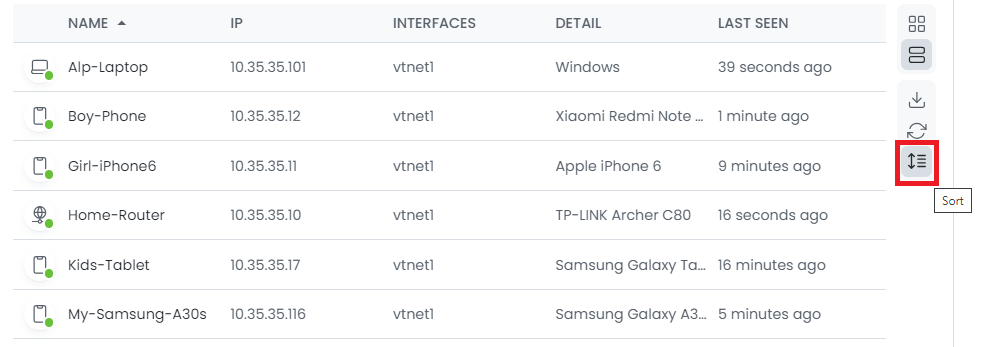
Figure 11. Sorting Device List on Zenconsole
-
Select a criteria for sorting devices. Available sorting criteria are Name, Category, First Seen, Last Seen, IP and HW Vendor.
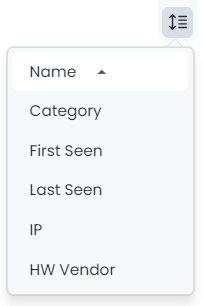
Figure 12. Selecting Sorting Criteria for Device List on Zenconsole
-
The sorted order can be modified from ascending to descending by selecting the corresponding sorting criteria with a click.