Setting Store Duration of Zenarmor Reporting Data on OPNsense
You can perform the following tasks in the Reporting Database page:
- Changing the time required to store reporting data
- Removing all and some of reporting data
- Reseting reporting database
- Health-check of database indexes
Changing Store Duration for Reporting Data
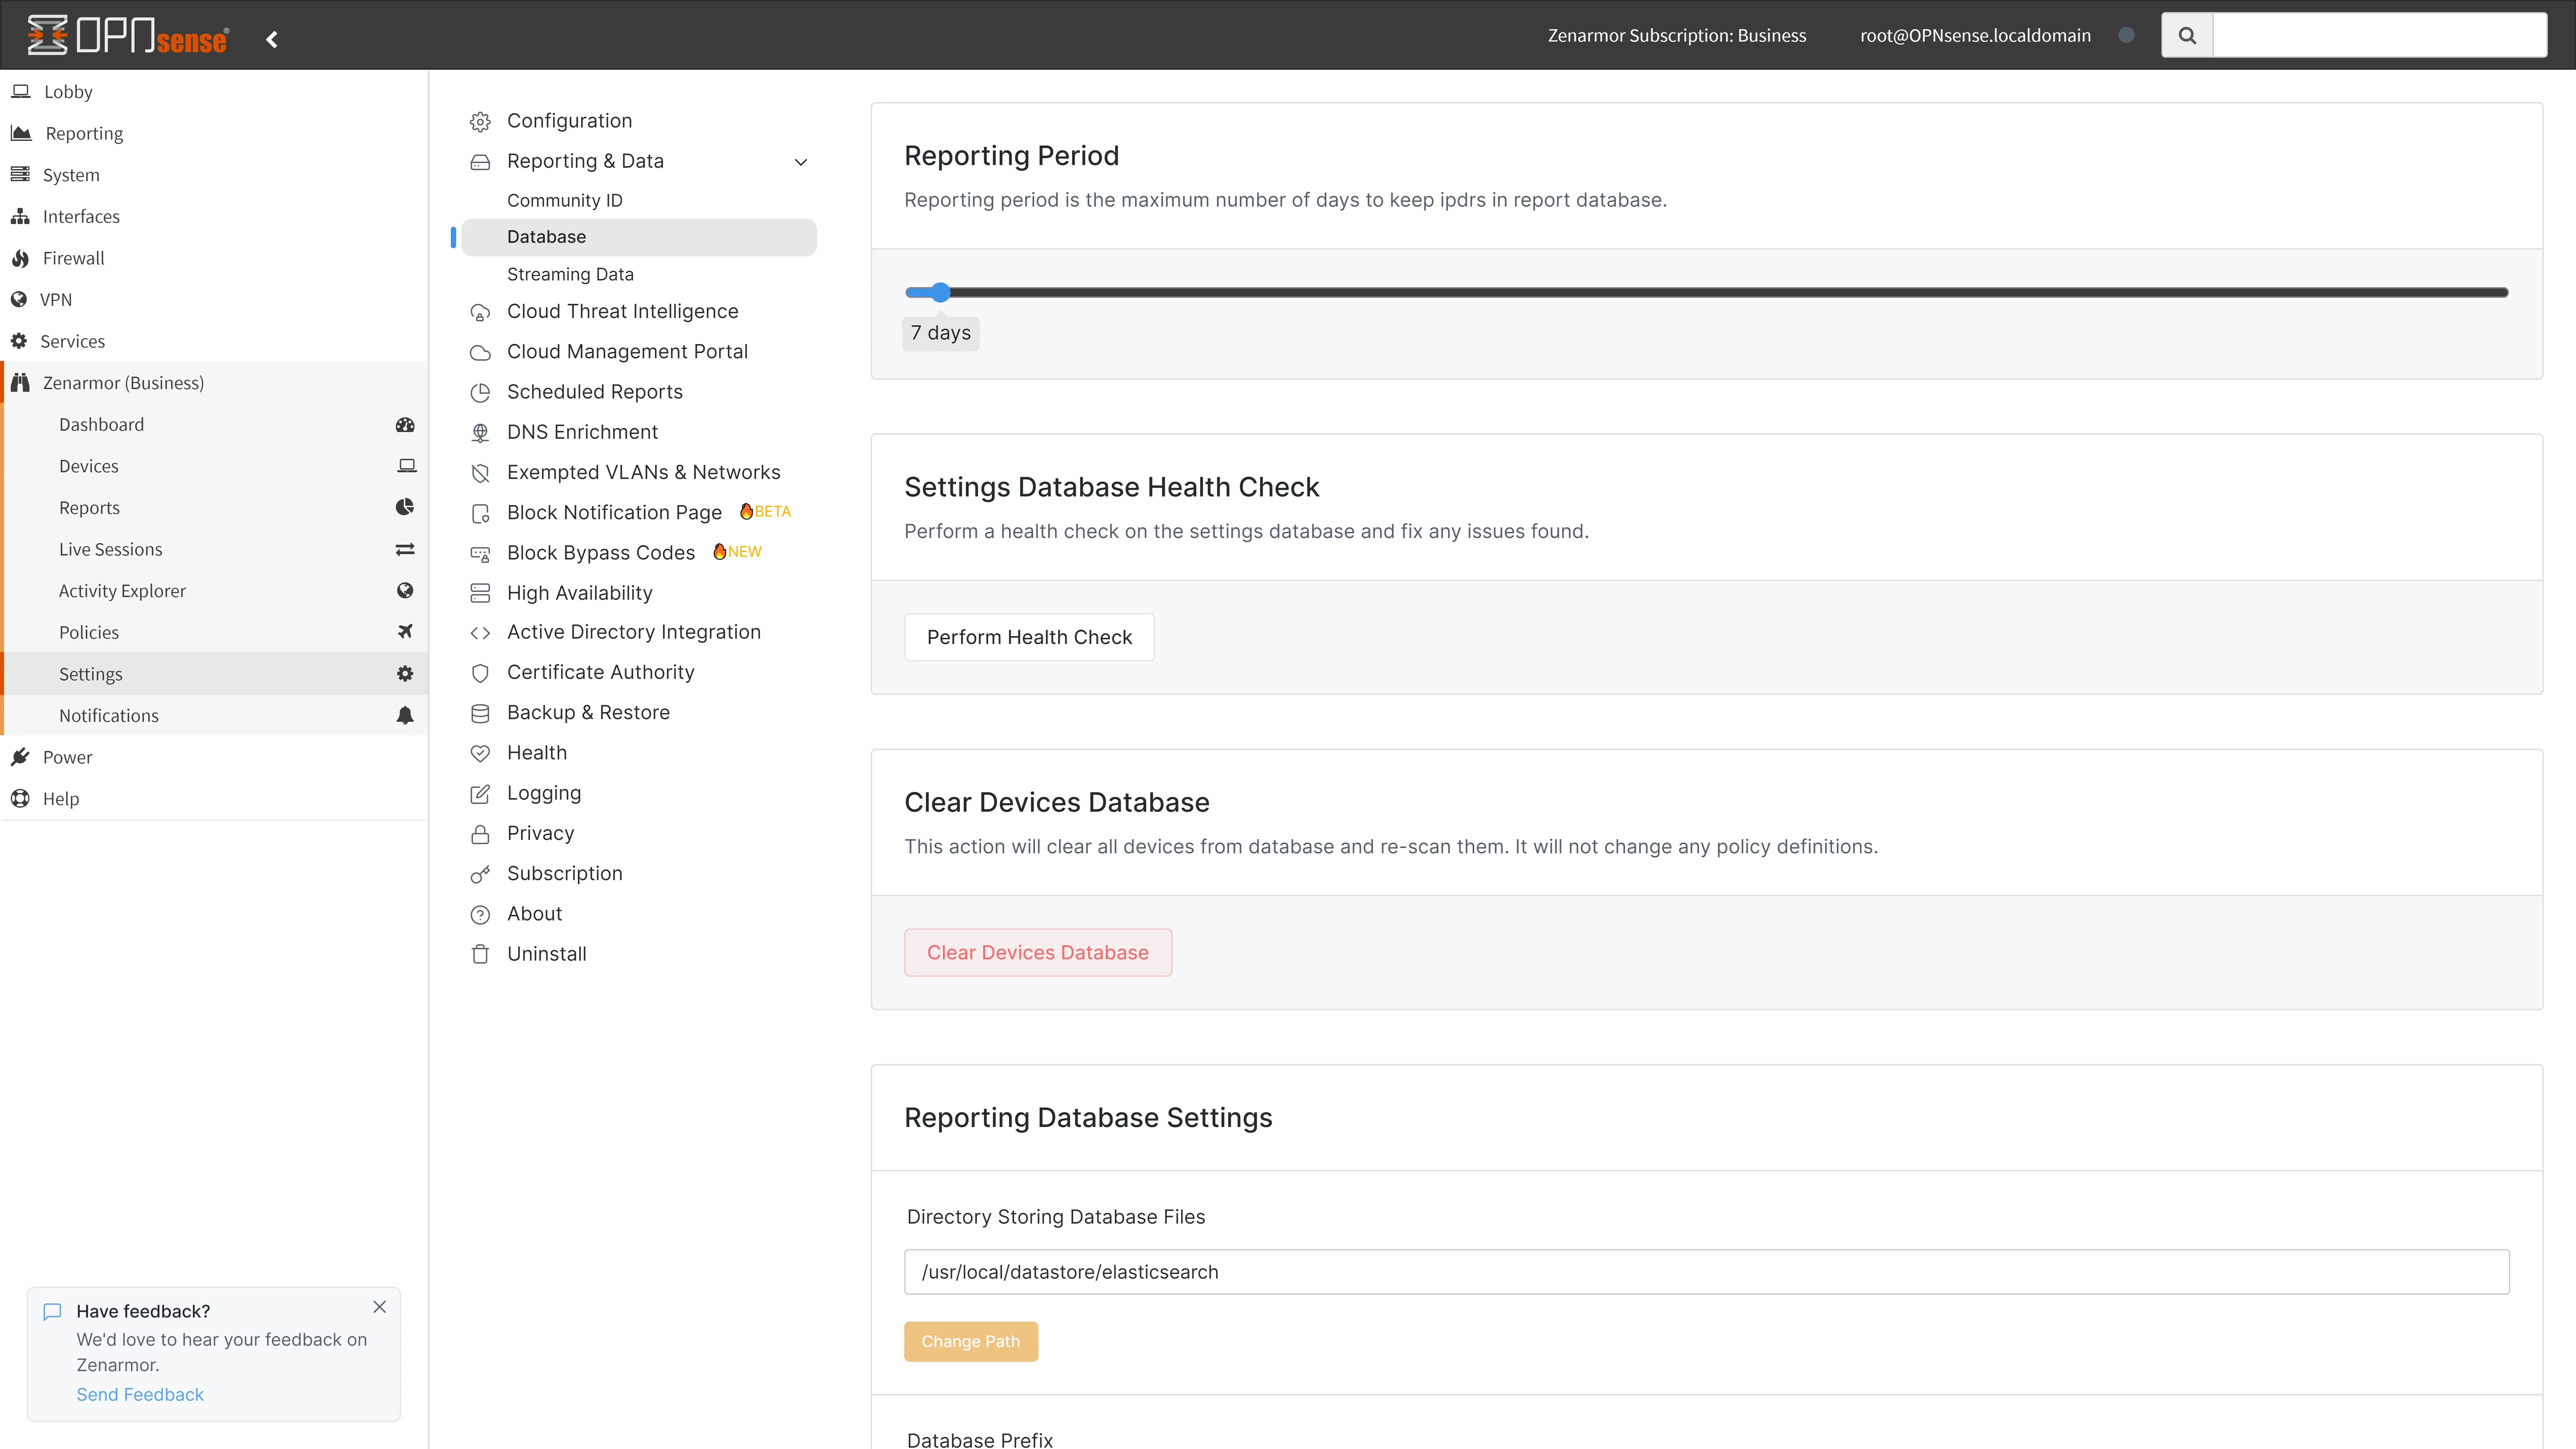
Reporting Database page allows the maximum number of days to store reporting data on the system to be defined. By default, the maximum number of days to keep ipdrs in reporting database is 7.
To change the number of days to store reporting data, follow the steps given below:
- Click Zenarmor on your OPNsense UI.
- Click Settings menu on the left-hand sidebar.
- Click Database menu under Reporting & Data.
- Scroll left on the Reporting Period bar to decrease or right to increase.

Figure 1. Setting the maximum number of days to store reporting data
When the number of days to store reporting data is increased, the quantity of disk space required by the data also rises. Refer to the Reporting & Disk Space section to determine how much disk space is needed for reporting.
Beware that when you decrease the number of days to store reporting data, some of the old data may be deleted. In such cases, a warning message is displayed. You may confirm the deletion of old data to set the max store time for reports data retiring value less than the old value by clicking on the Continue button.
Figure 2. Notification message for deleting Zenarmor reports data
Deleting Reporting Data
Zenarmor allows you to delete all or some part of the reporting data, if you wish to clear out old reporting data to start fresh. In certain cases, erasing the report data can eliminate issues with reports that are crashing. You may easily remove all reporting data by following the steps given below:
- Navigate to the Zenarmor → Settings → Reporting & Data → Database page on your OPNsense UI.
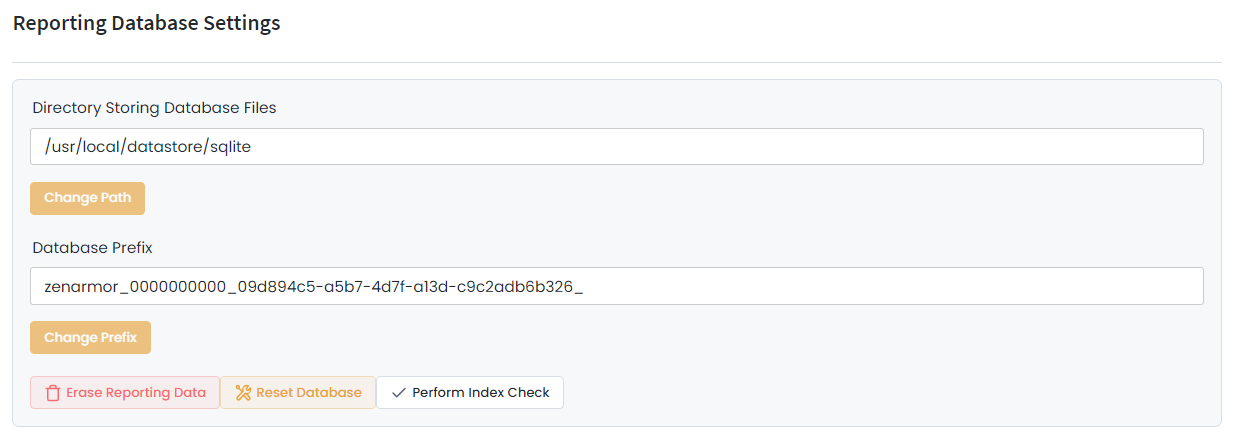
- Scroll down to the Reporting Database Settings pane.

Figure 3. Reporting Database Settings 3. Click Erase Reporting Data button. This will pop up a window for selecting data removal options. There are 3 options for deleting Zenamor reporting data:
- Delete all data: When you select this option all reporting data will be removed from your database.
- Erase data older than n days: When you select this option all reporting data older than the specified days will be removed from your database.Default value is
7and Zenarmor allows you to set this value manually. - Delete data for IP address: To delete reporting data belongs to traffic sourced from a specific node select this option and type the IP address of the source node.
- Click Erase button to confirm the deletion of reporting data. This will pop-up a dilaog box for confirmation of reporting data removal.
Figure 4. Erase Reporting Data
- Click Yes to confirm the removal of the reporting data.
Figure 5. Confirmation for Erasing Reporting Data
Settings Database Health Check
You may perform a health check on the settings database and fix any issues found. This option checks the Zenarmor settings file, settings.db, and corrects the errors if any exist. Somehow this configuration file may have some missing columns that cause an error mostly in the configuration screen.
When you click on the Perform Health Check button in the Settings Database Health Check pane, it makes the settings.db compatible with the current release.

Figure 6. Settings Database Health Check
Reseting Reporting Database
If your Reporting Database crashes, Zenarmor allows you to reinstall your Zenarmor database. Beware that resetting database operation removes all your reporting data. You may easily reset and reinstall Zenarmor reporting database by following the steps given below:
- Navigate to the Zenarmor → Settings → Reporting & Data → Database page on your OPNsense UI.
- Scroll down to the Reporting Database Settings pane.
- Click Reset Database button. This will pop-up a dilaog box for confirmation of reseting database.
- Optionally, you may check Re-install report database option if your database is crashed and needs to be reinstalled.
Figure 7. Reseting Reporting Database
- Click Reset to reset the reporting data. This will pop-up a dilaog box for confirmation of removing database.
- Click Yes to start reseting database.
Figure 8. Confirmation for Reseting Reporting Database
Performing Health Check for Reporting Database Indices
Zenarmor allows you to perform a health-check for reporting database indices. You may easily apply a health check for the database indexes by following the steps given below:
- Navigate to the Zenarmor → Settings → Reporting & Data → Database page on your OPNsense UI.
- Scroll down to the Reporting Database Settings pane.
- Click ** Perform Index Check** button. If there is a problem with the indexes, they will be fixed or re-created automatically. If all indexes are healthy, you will see the following message at the right bottom of the page.
Figure 9. Performing Index Check
Deleting Devices Database
Zenarmor allows you to delete all detected devices. You may easily remove devices database by following the steps given below:
- Navigate to the Zenarmor → Settings → Reporting & Data → Database page on your OPNsense UI.
- Scroll down to the Clear Devices Database pane.

Figure 10. Deleting Devices Database 3. Click Deleting Devices Database button. This will pop up a dialog box for confirmation.
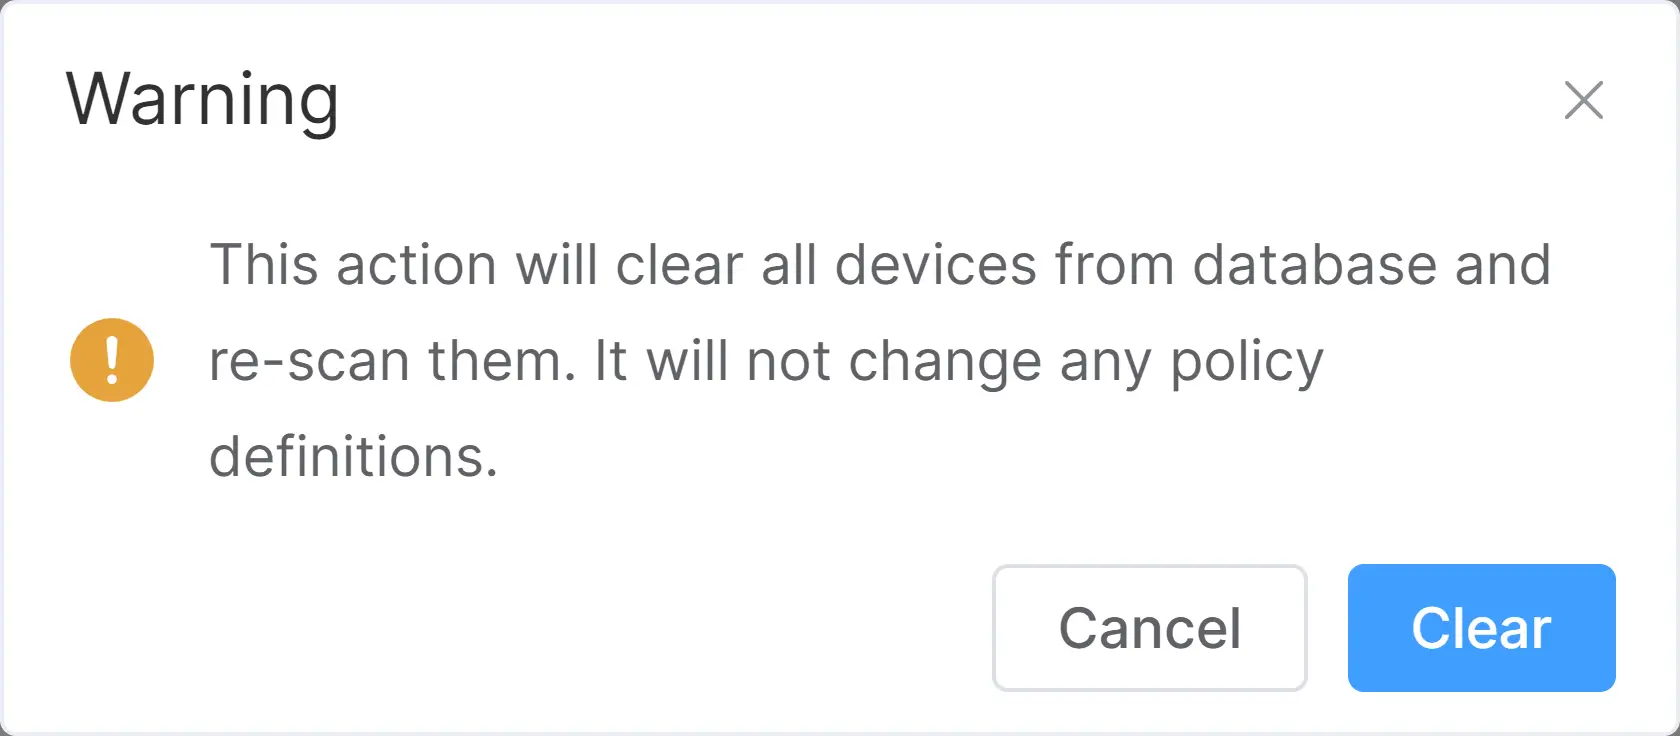
- Click Clear to confirm the removal of the reporting data.

Figure 11. Confirmation for Deleting Devices Database