Managing Firewall Groups with Projects
A project in Zenconsole is essentially a folder or container on the platform that is used to group Zenarmor firewall instances. If you are a business, you can create a project for each branch location or office, whereas a managed service provider can create a project for each of their clients.
Zenconsole has a multi-tenant architecture that is prevalent in enterprise environments as well as SaaS and cloud-based applications. This role-based multi-tenancy architecture is very useful because it is likely that in a large enterprise deployment, you will have multiple Zenarmor instances deployed across multiple locations, or in the case of an MSP, you may have multiple clients running Zenarmor instances that you are managing on their behalf, all of which require varying levels of administrative user access.
Zenconsole supports role-based sharing for projects, allowing users to control and customize project access and collaboration based on their specific responsibilities and permissions. If a user modifies a Zenarmor instance or policy setting, the modifications are reflected in real-time across all active user sessions. This prevents configuration inconsistencies from occurring when multiple administrators or operators are present.
Using the Role-based Firewall Sharing feature of Zenconsole, you can also administer your firewalls with your team members without having to establish a project. Both Role-based Firewall Sharing and Project Sharing features result in significant operational cost savings for MSPs and MSSPs.
Creating Project
You may easily create a project on Zenconsole by following the next steps:
-
Click on the Projects link at the upper left of the Zenconsole.
-
Click on the +Create Project menu.
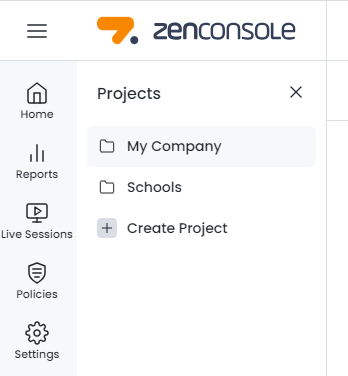
Figure 1. Creating Project on Zenconsole
-
Type a descriptive name for the project.

Figure 2. Naming Project on Zenconsole
-
Click on the Create button.
Configuring Project
You may configure the project on Zenconsole by following the next steps:
-
Click on the Projects link at the upper left of the Zenconsole. This will display the project list.
-
Hover your mouse over the project that you want to share.
-
Click
...(3-dot) icon next to the project name. This will open a drop-down menu. -
Click Settings menu. This will redirect you to the Configuration page of the project.
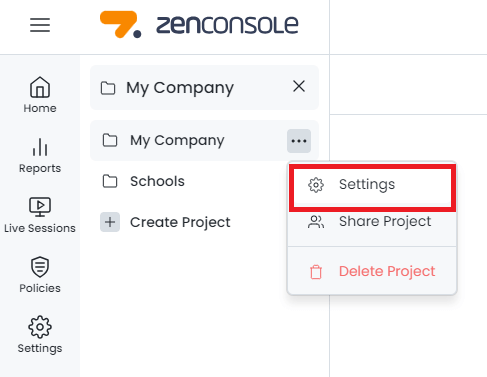
Figure 3. Zenconsole - Accessing Settings of a Project
On the Configuration page of a project, you may perform the following tasks:
-
Adding a Firewall
-
Deleting Project
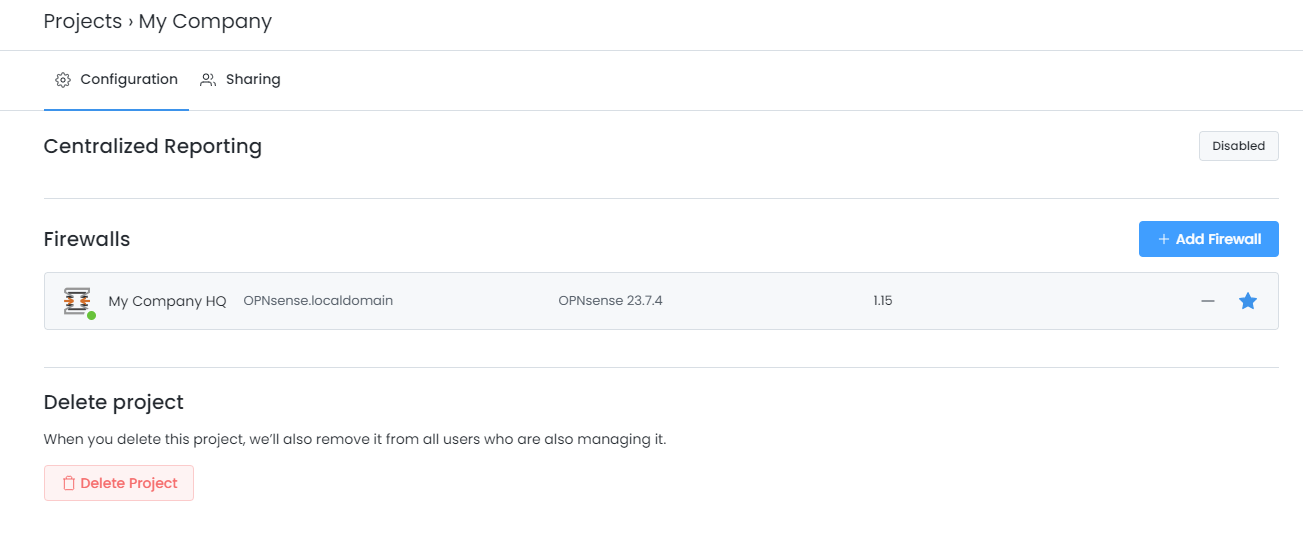
Figure 4. Zenconsole - Configuration page of a Project
Adding Firewall
To add a firewall to a project, you may follow the next steps:
-
Navigate to the Configuration page of the project.
-
Click +Add Firewall button on the Firewalls pane. This will display the available firewalls that were previously registered to your Zenconsole account.
-
Select the firewall. This will automatically add the firewall to the project.
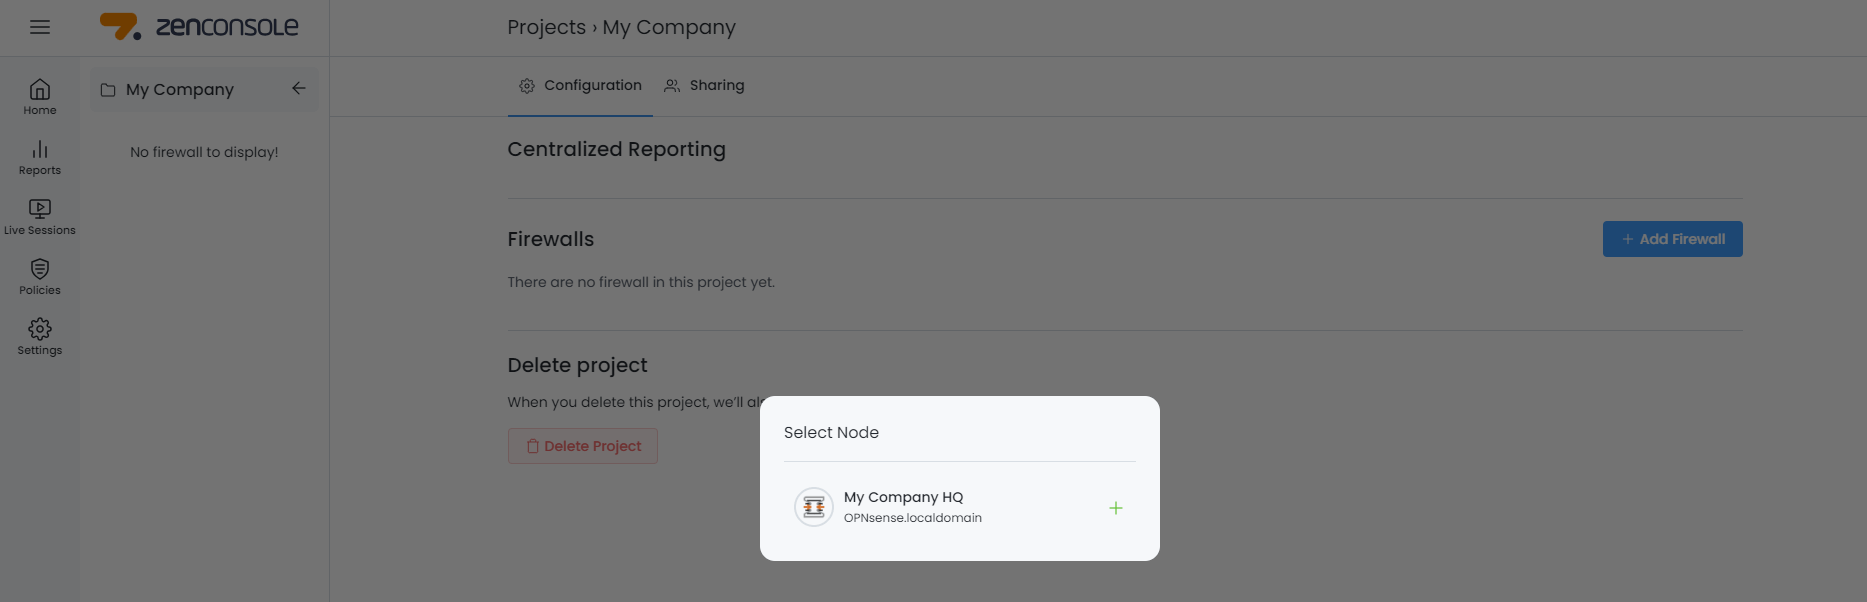
Figure 5. Zenconsole - Adding Firewall to a Project
Removing Firewall
To delete a firewall from a project, you may follow the next steps:
-
Navigate to the Configuration page of the project.
-
Click
-button next to the firewall that you want to delete on the Firewalls pane.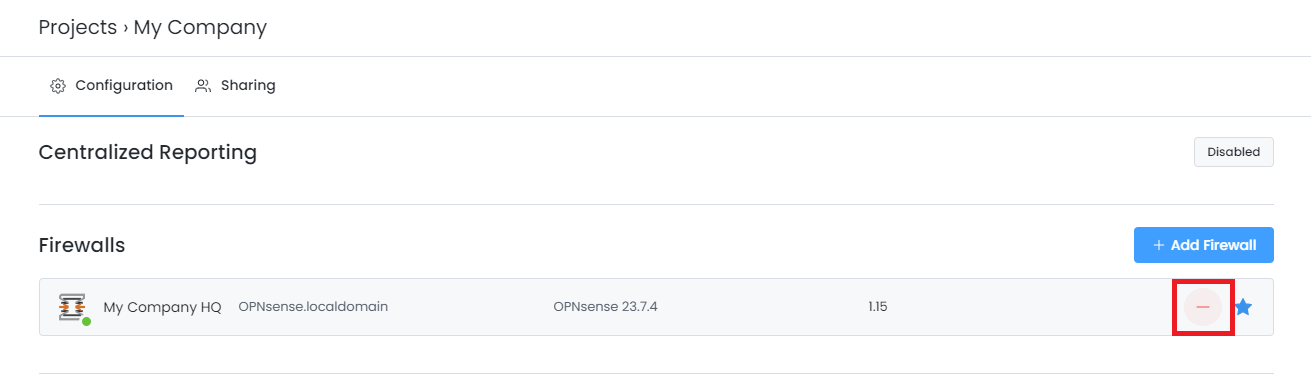
Figure 6. Zenconsole - Removing Firewall to a Project
-
Click Delete button to confirm the firewall removal from the project.
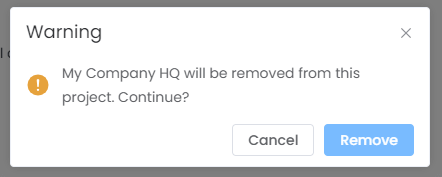
Figure 7. Zenconsole - Removing Firewall to a Project
Zenarmor Project Delegation
Zenconsole provides a powerful delegation feature. As the owner of the project, you can delegate administration of the firewall in a project to team members. There are four types of roles in Zenconsole:
- Owner
- Admin
- Operator
- Viewer
| Roles\Privileges | Add/Delete FW | Configure Engine Status | Configure FW Settings | Policy Management | Reports/Live Session Explorer |
|---|---|---|---|---|---|
| Owner | YES | YES | YES | YES | YES |
| Admin | - | YES | YES | YES | YES |
| Operator | - | - | YES (except Sharing) | YES | YES |
| Viewer | - | - | - | - | YES |
Table 1. Roles and Privileges on Zenconsole
Sharing Zenarmor Project with a User
To share your Zenarmor next-generation firewall project, you may follow the steps given below:
-
Click on the Projects link at the upper left of the Zenconsole. This will display the project list.
-
Hover your mouse over the project that you want to share.
-
Click
...(3-dot) icon next to the project name. This will open a drop-down menu. -
Click Share Project menu. This will redirect you to Sharing page of the project.
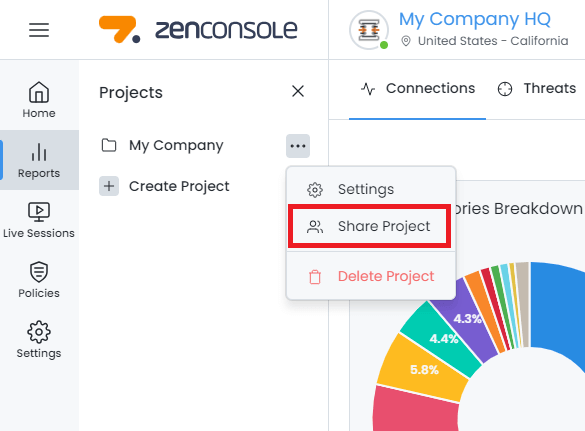
Figure 8. Zenconsole - Sharing Project with a Team
noteYou can only share a project if you're the owner of it and if you have
Premiumsubscriptions. For more information, please refer to plans & pricing. -
Click +Add User on the Sharing page of a project.
-
On the pop-up window, type the
email addressof the invited person. Beware that the invited user must have an active Zenconsole account with this email address. -
Select the role, such as
Owner,Admin,Operator, orViewer. -
By default
Notify user via emailoption is enabled. You may disable it by switching off the toggle. -
Click Send Invite.
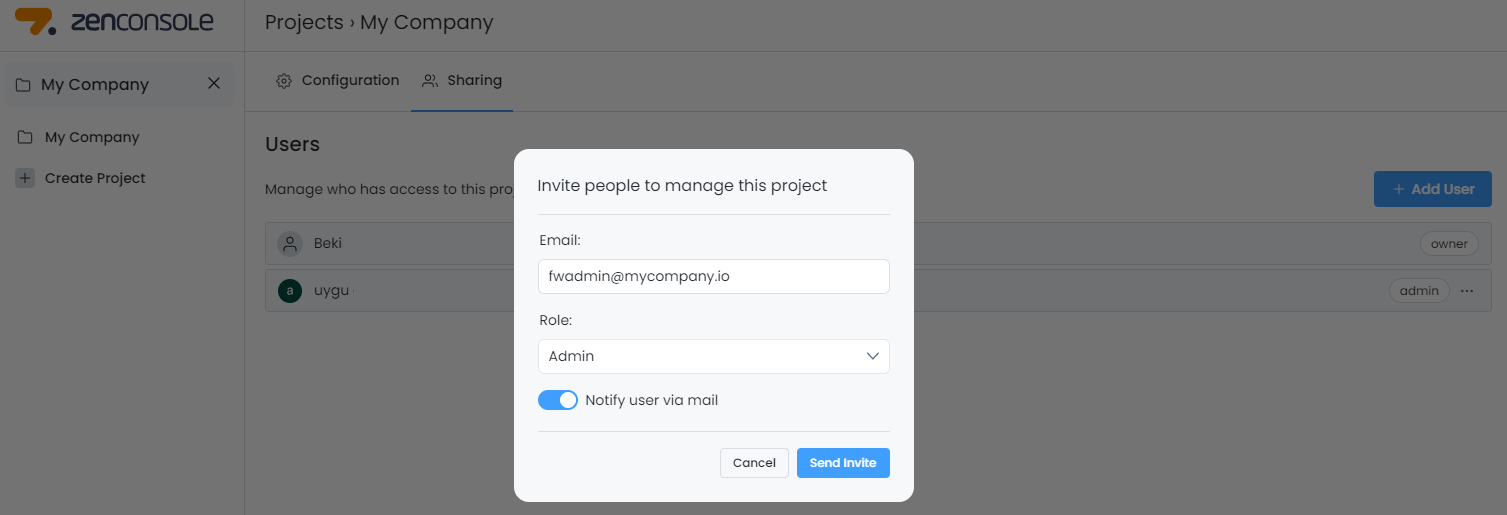
Figure 9. Zenconsole - Invite People to Zenarmor Project
You can see on the Sharing page who has access to this project.
Changing Role
Zenconsole allows you to change the role of the user who you share your project with. To change the role of a user, you may follow the steps below:
-
Click
...(3-dot) icon next to the user on the Sharing page of a project.. This will open a drop-down menu.
Figure 10. Zenconsole - Edit/Remove User in Zenarmor Project
-
Click
Edit. This will pop-up a window. -
Select the role, such as
Owner,Admin,OperatororViewer.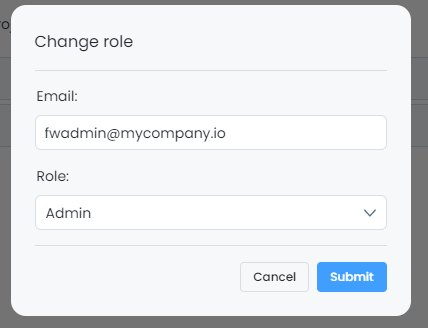
Figure 11. Zenconsole - Changing Role in Zenarmor Project
-
Click
Submitto save the changes.
Removing User
You may easily remove a user from your team on Zenconsole by following the steps below:
- Click
...(3-dot) icon next to the user. This will open a drop-down menu. - Click Remove. This will pop up a window.
- Click Confirm to delete the user from your project team.
Delete Project
To remove a Zenarmor project from your Zenconsole account, you may follow the steps given below:
-
Click on the Projects link at the upper left of the Zenconsole. This will display the project list.
-
Hover your mouse over the project that you want to share.
-
Click
...(3-dot) icon next to the project name. This will open a drop-down menu. -
Click Delete Project menu. This will pop up a window.
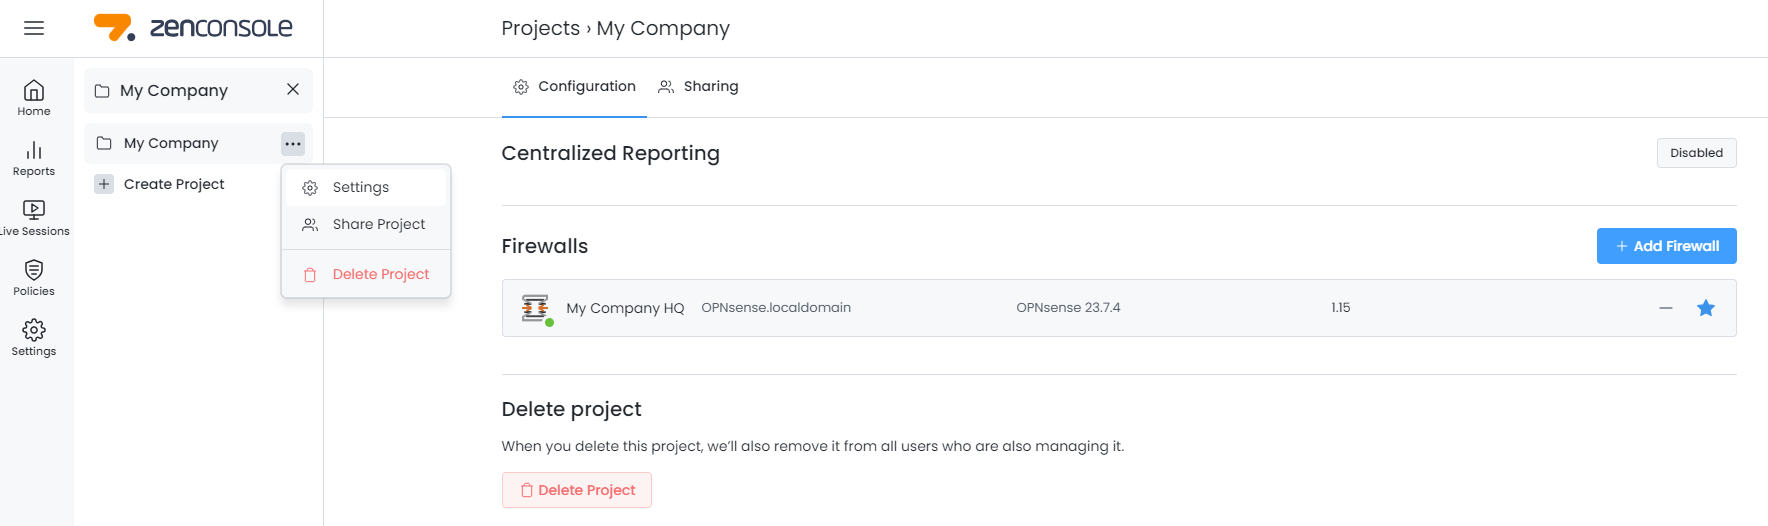
Figure 12. Zenconsole - Deleting Project
-
Click Delete to confirm the project removal. This will remove the project from all users who are also managing it.
tipYou may navigate to the Configuration page of the project and click Delete Project button to remove the project,
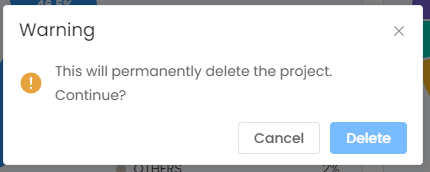
Figure 13. Zenconsole - Confirming Zenarmor Project Deletion