Activity Explorer
Activity Explorer page allows you to view the Connection Activity Details. On the Activity Explorer page, you can view Applications and Web-based connections for the last 24 hours in two different tabs separately.
You can easily view the Activity Explorer by navigating to Zenarmor → Activity Explorer on your OPNsense node.
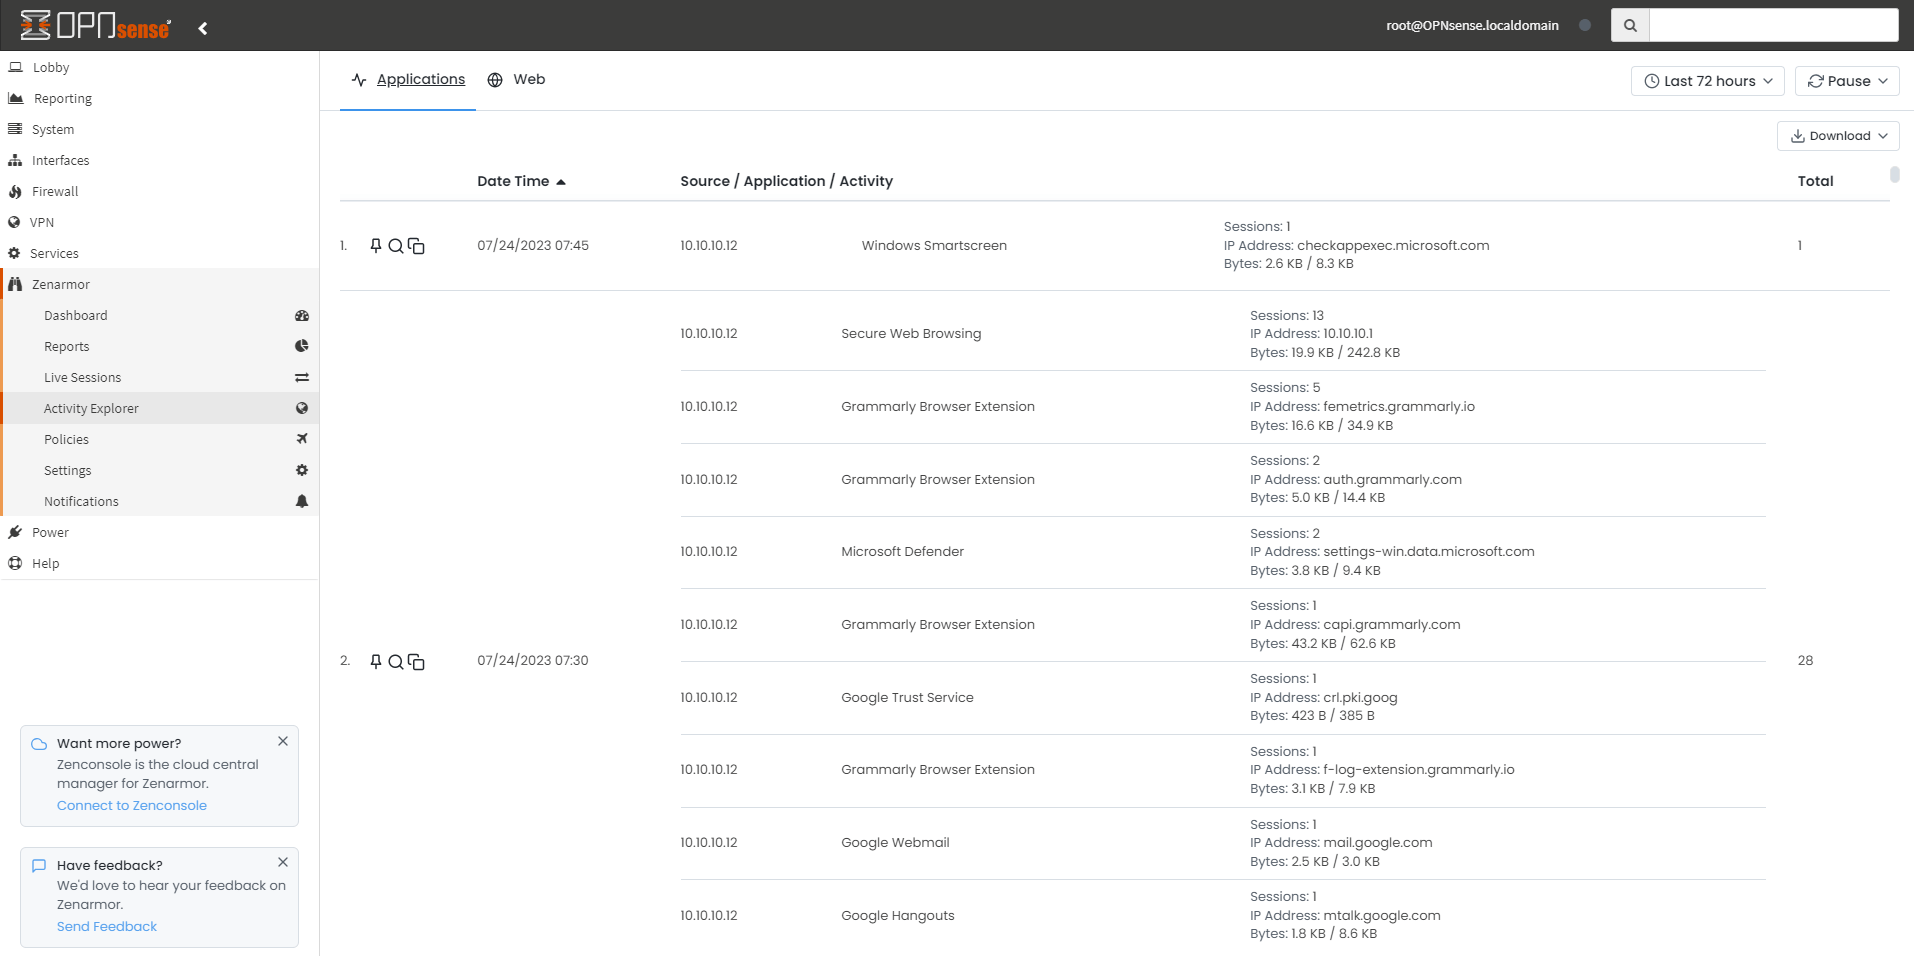
Figure 1. Viewing Activity Explorer
On the Activity Explorer page, you may perform the following tasks:
- Viewing Applications connection activity details.
- Viewing Web connection activity details.
- Setting time intervals for connection activity details.
- Setting refresh time for connection activity details.
- Exporting for connection activity details.
Activity Explorer is not available for Free Edition. To benefit from the custom report feature, you must have one of the paid Zenarmor® subscriptions. For more information about plans & pricing.
Viewing / Configuring Reporting Criteria
Reporting criteria for your activity explorer are always visible on the configuration bar at the top right of the activity explorer page.

Figure 2. Activity Explorer Configuration Bar
Configuring Time Interval
You can define a time interval for your activity explorer. Available Time Interval options are as follows:
-
Last 30 minutes
-
Last 6 hours
-
Last 12 hours
-
Last 24 hours
-
Last 72 hours
-
Last week
-
Custom Range
To change the reporting time interval for the reactivity explorer you may follow the next steps:
-
Click the time interval drop-down menu (first button on the report view configuration bar)
-
Select the time interval that you want to view.
This will apply the selected time interval to both the Application and Web Activity Explorer pages automatically.

Figure 3. Configuring Time Interval
Configuring Refresh Time
The refresh time option is the auto-refresh interval for the activity explorer to automatically refresh with new data. By default, the activity explorers are automatically refreshed every minute but you can increase the interval. Available refresh interval options are as follows:
-
Now
-
1 minute
-
5 minutes
-
15 minutes
-
30 minutes
-
1 hour and
To change the refresh time interval for the report view you may follow the next steps:
-
Click the refresh time drop-down menu.
-
Select the time that you want to view.
This will apply the selected time interval to both the Application and Web Activity Explorer pages automatically.

Figure 4. Configuring Refresh Time
Viewing Applications Activity Explorer
In Applications Tab, you can view the connection details for each 15 min. time interval in a table with 3 columns:
- Date Time: Time of the connection such as 07/24/2023 10:00.
- Source: Source IP/hostname of the connection.
- Application: Application Names, such as Secure Web Browsing or Microsoft Updates.
- Activity: Application Category Name, Number of Sessions, Destination IP, Upload/Download Size.
- Total: Total number of Application connections.
You can scroll down to view the rest of the application-based connection activity details list.
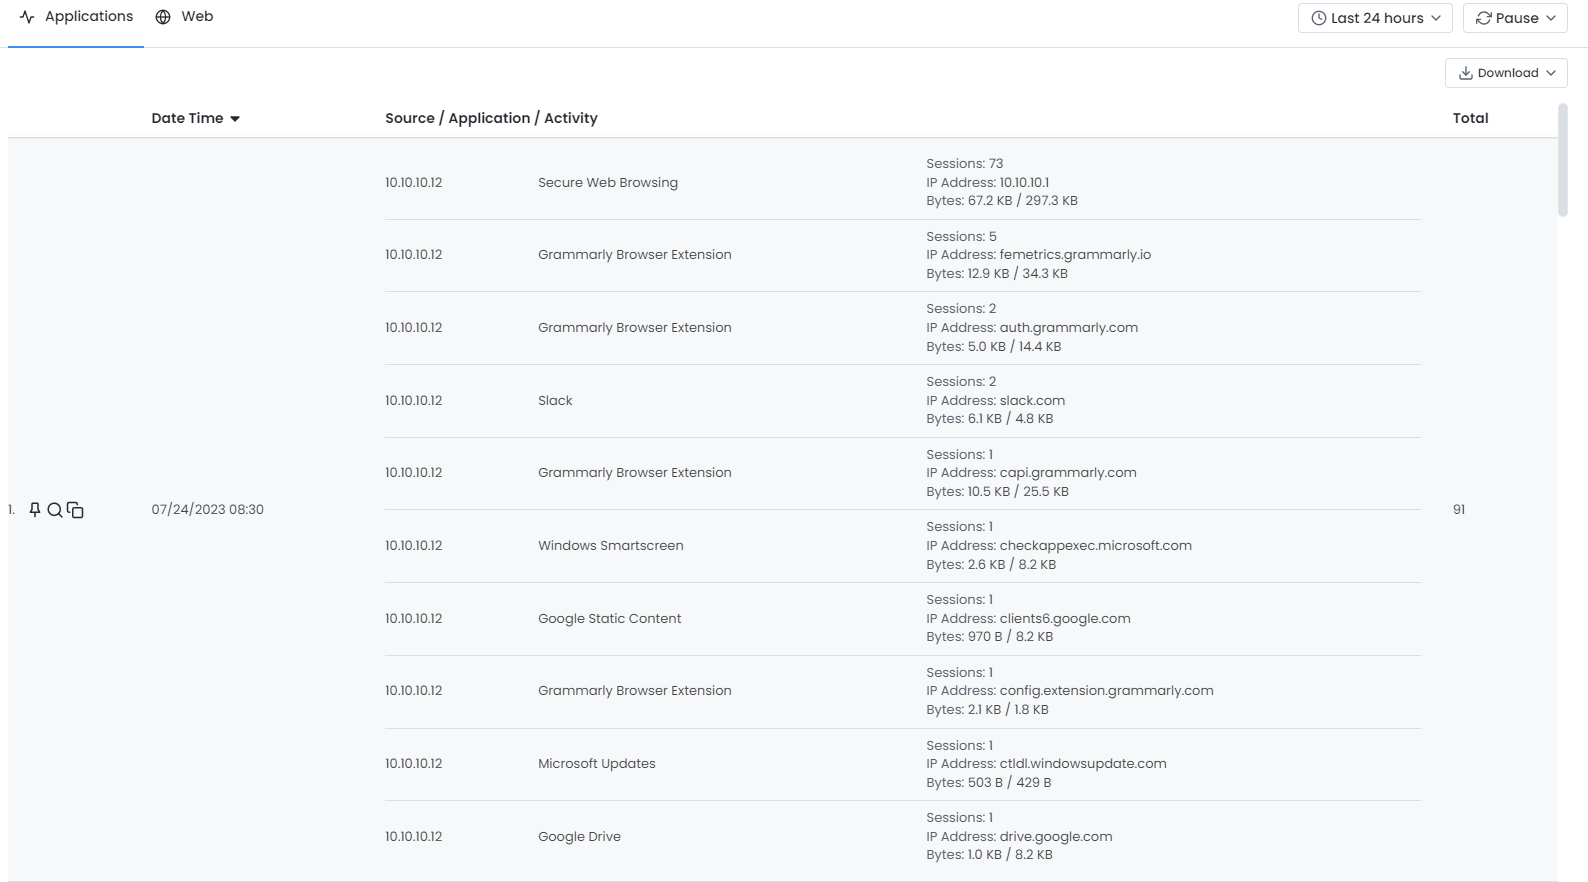
Figure 5. Application-Based Connection Activity Details
Viewing Web Activity Explorer
In the Web Tab, you can view the connection details for each 15 min. time interval in a table with 3 columns:
- Date Time: Time of the connection such as 07/24/2023 10:00
- Source: Source IP/hostname of the connection.
- Hostname: Destination IP/hostname.
- Activity: Number of Visits, Web Categories, Upload/Download Size.
- Total: Total number of Web connections.
You can scroll down to view the rest of the web-based connection activity details list.
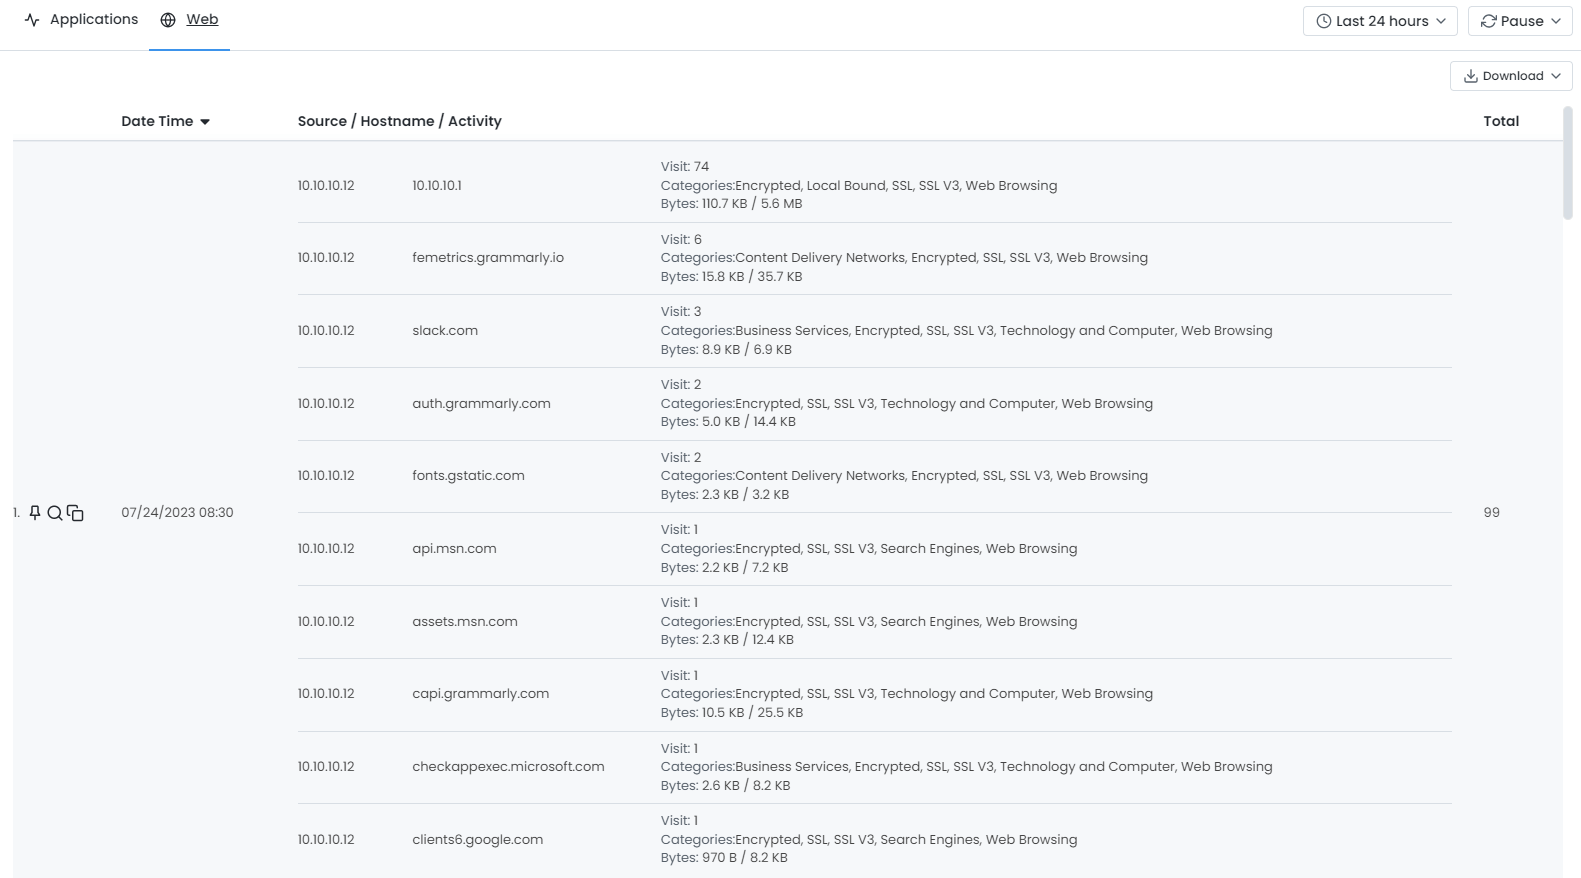
Figure 6. Web-Based Connection Activity Details
Viewing Connection Activity Details
You can quickly and easily view the connection activity details by clicking on the magnifying glass ![]() icon in the first column of the session.
icon in the first column of the session.

Figure 7. Viewing Connection Activity Details
Pin/Unpin a Session Record
Zenarmor allows you to pin a session record for better traffic analysis and threat hunting. By clicking on the pin ![]() icon in the first column of the session, you can easily pin a session record to the top of the Activity Explorer page.
icon in the first column of the session, you can easily pin a session record to the top of the Activity Explorer page.
To unpin the session from the Activity Explorer page, click on the pin ![]() icon in the first column of the pinned session.
icon in the first column of the pinned session.

Figure 8. Pin/Unpin a Connection Activity Record
Copying a Connection Activity Record
Zenarmor allows you to copy a session record to the clipboard. To copy the session record, click on the copy ![]() icon in the first column of the session.
icon in the first column of the session.

Figure 9. Copying a Connection Activity Record
Exporting Activity Explorer
Zenarmor allows you to export the activity details in PDF and PNG formats and download them.
To export your report click on the Download drop-down menu at the upper right corner of the Activity Explorer page. Then, select the file format you wish to download.

Figure 10. Exporting Zenarmor Activity Explorer